


Overview
In this article we will go over how to deploy your tornado application to Heroku, so that you can easily and cheaply have a scalable REST API, Web Application, Web-socket server, or a combination of it all. This is the first milestone to further develop your skill quickly in a cloud provider without the overwhelming settings and cost from AWS and Azure.
NOTE: Heroku is owned by Salesforce and lives on AWS, it is the best beginner / side project cloud provider to start your projects. It provides simple integration with Sendgrid, Mailgun, PostgreSQL, MySQL, and many other features. It is very easy to migrate your project from Heroku to AWS and Azure if you do it at the right time.
Heroku
Create a Heroku Account
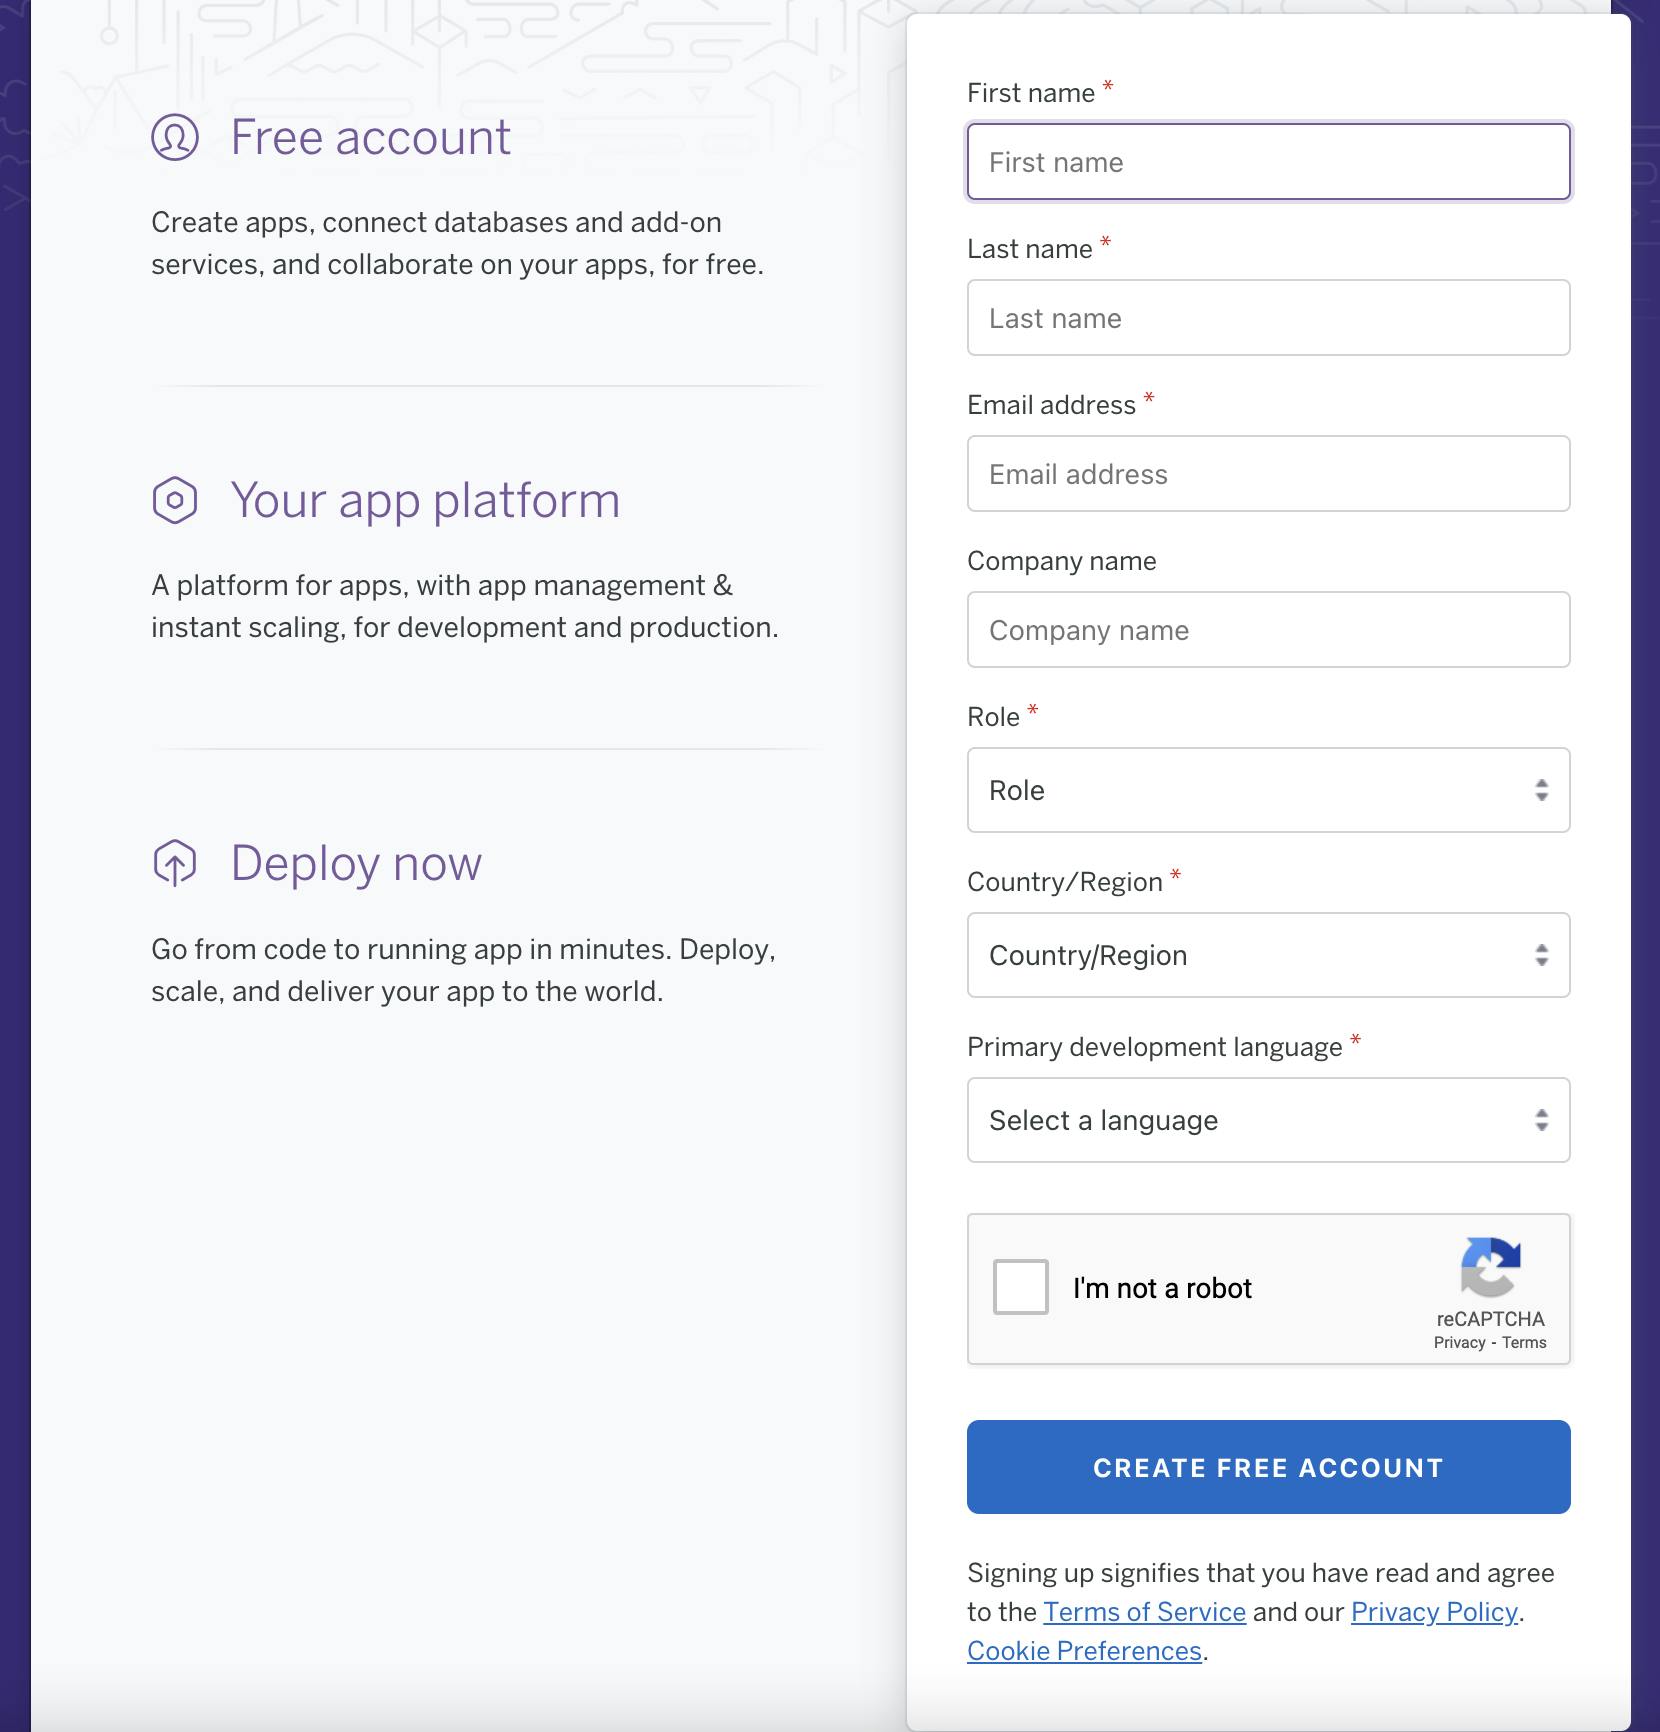
The first step is to go to Heroku and create a new account by filling in the following form:
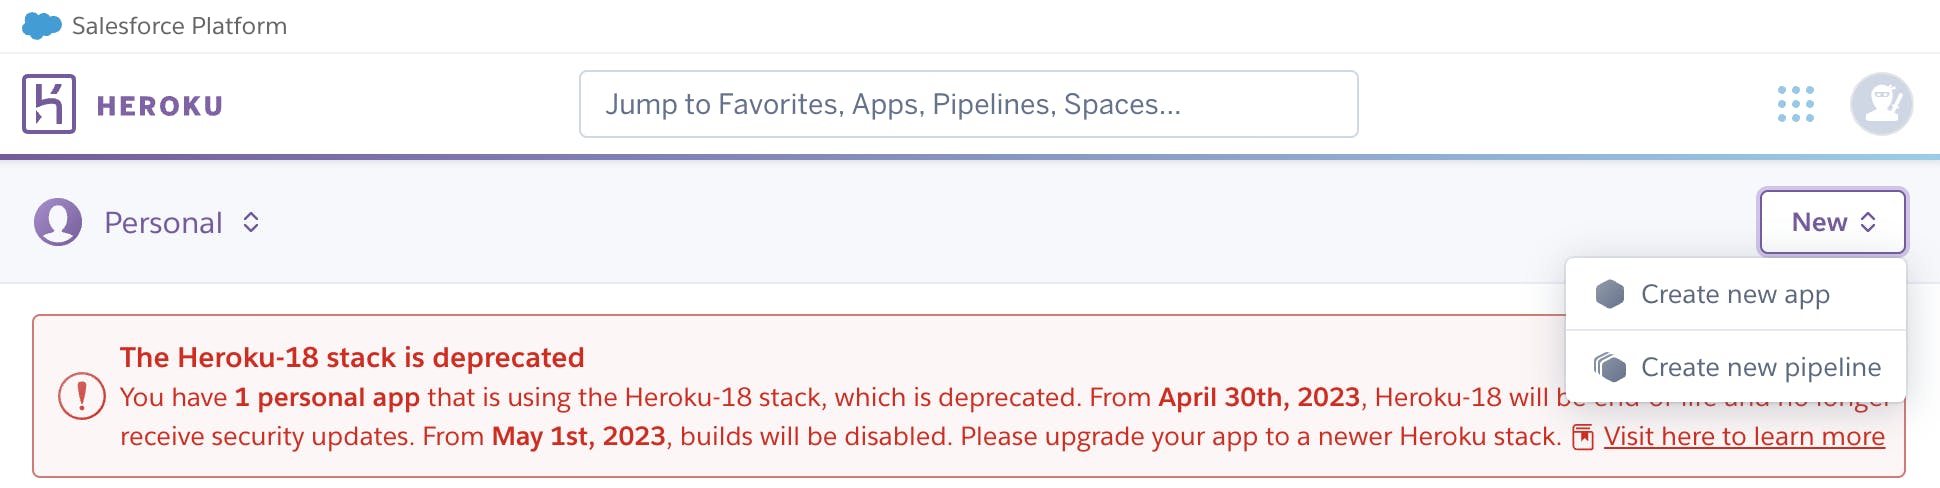
Once you have created and confirmed your account, login into it and you will be presented with your dashboard. Once you are in your dashboard click on the New button on the top right and select Create new app as shown below
Fill in the name of your new application as shown below:
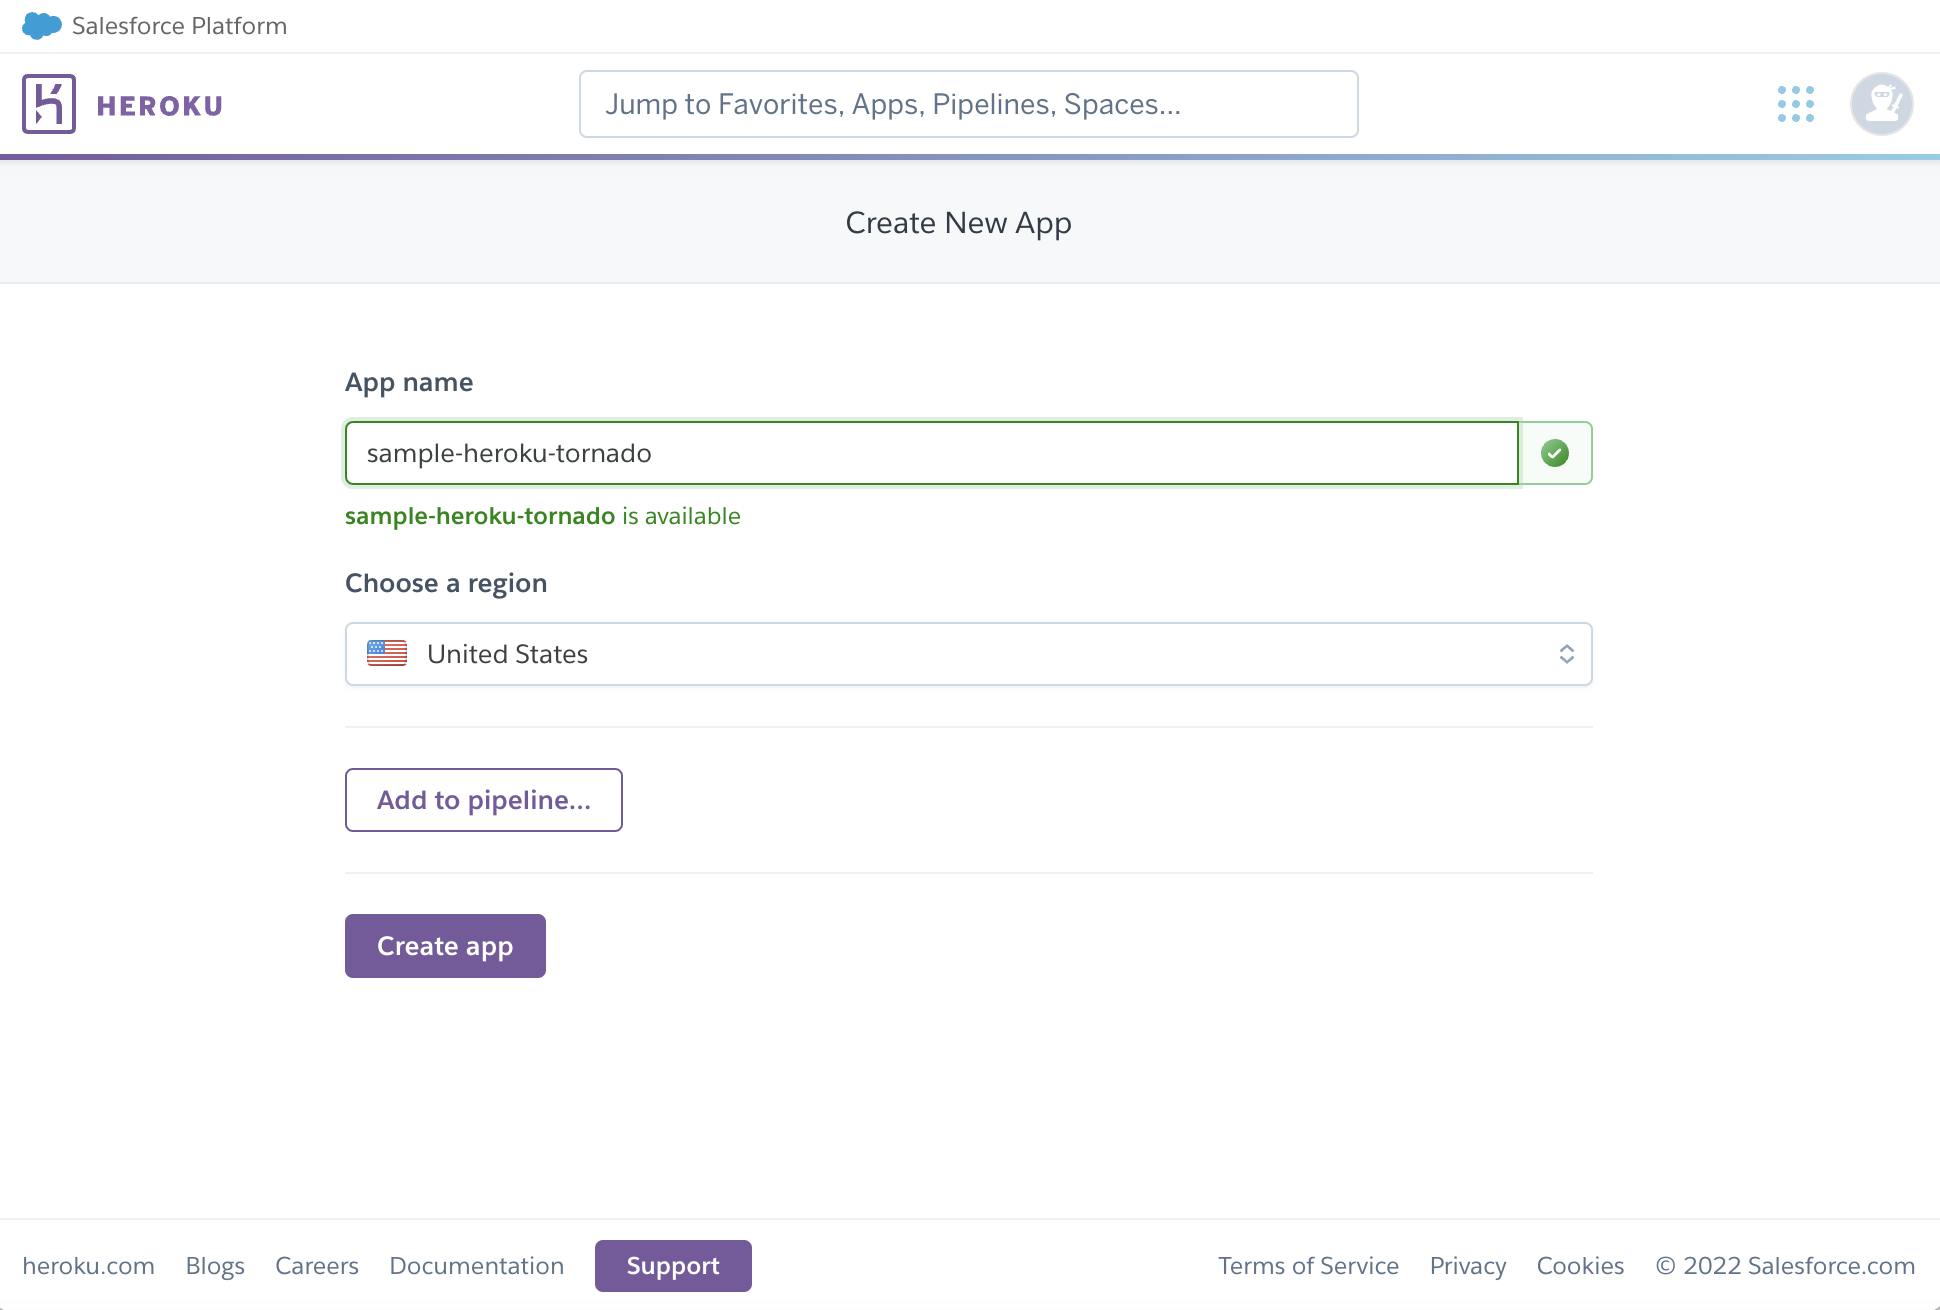
Your application has been created now! You will be redirected to the main dashboard, there we can set how we will want to deploy the app. Based on the environment Heroku will install the right languages for your application, in this case it will be the latest version of Python that is supported.
Tornado
In this section we will create our Tornado application, test it locally, and then configure it for deployment in Heroku.
Create a Tornado App
We will first setup our requirements.txt for the libraries needed, these are my standard libraries for my tornado projects as it gives me what I need to create a backend using Tornado with a some standard libraries I like to use in case I decide to add a PostgreSQL database:
passlib==1.7.2
tornado==6.1
cryptography
psycopg2-binary==2.8.6
queries
pyjwt
Second, we will setup our local virtual environment and install the libraries needed by executing the following commands in order:
> python3 -m venv .venv
> source ./.venv/bin/activate
> pip install --upgrade pip
> pip3 install -r ./requirements.txt
> pip3 freeze >  requirements.txt
Finally, we are going to setup up our Tornado server by creating a file named app.py and add the following code:
Test Locally
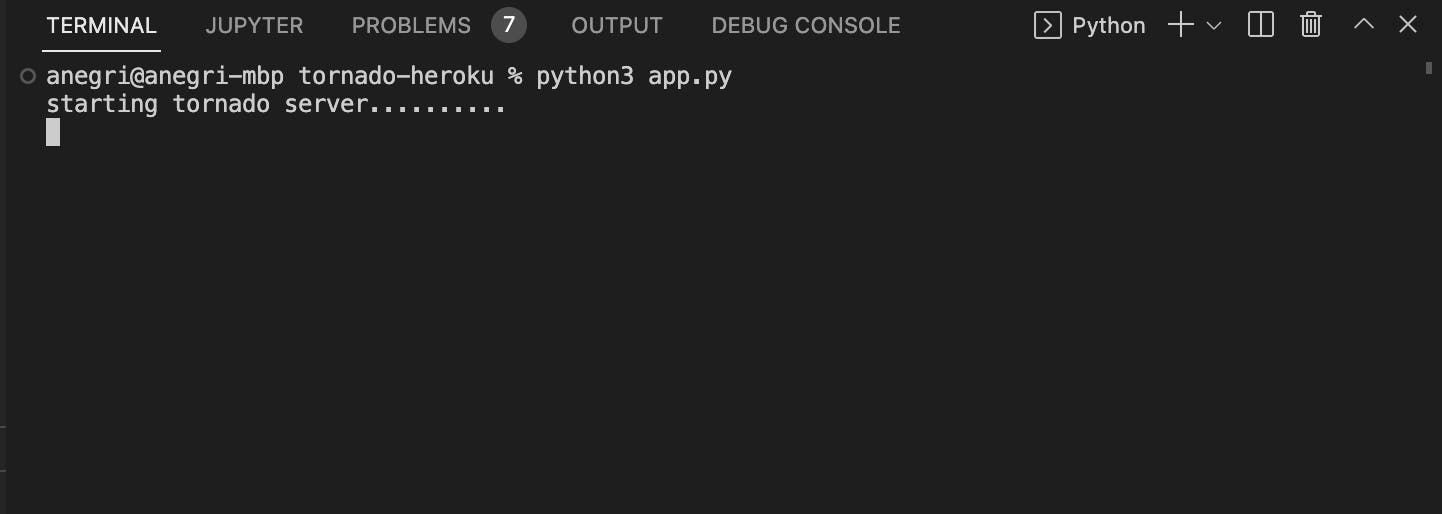
Once we have all our local server setup we run the following command:
$python3 app.py
Then we can check the console displaying the following:
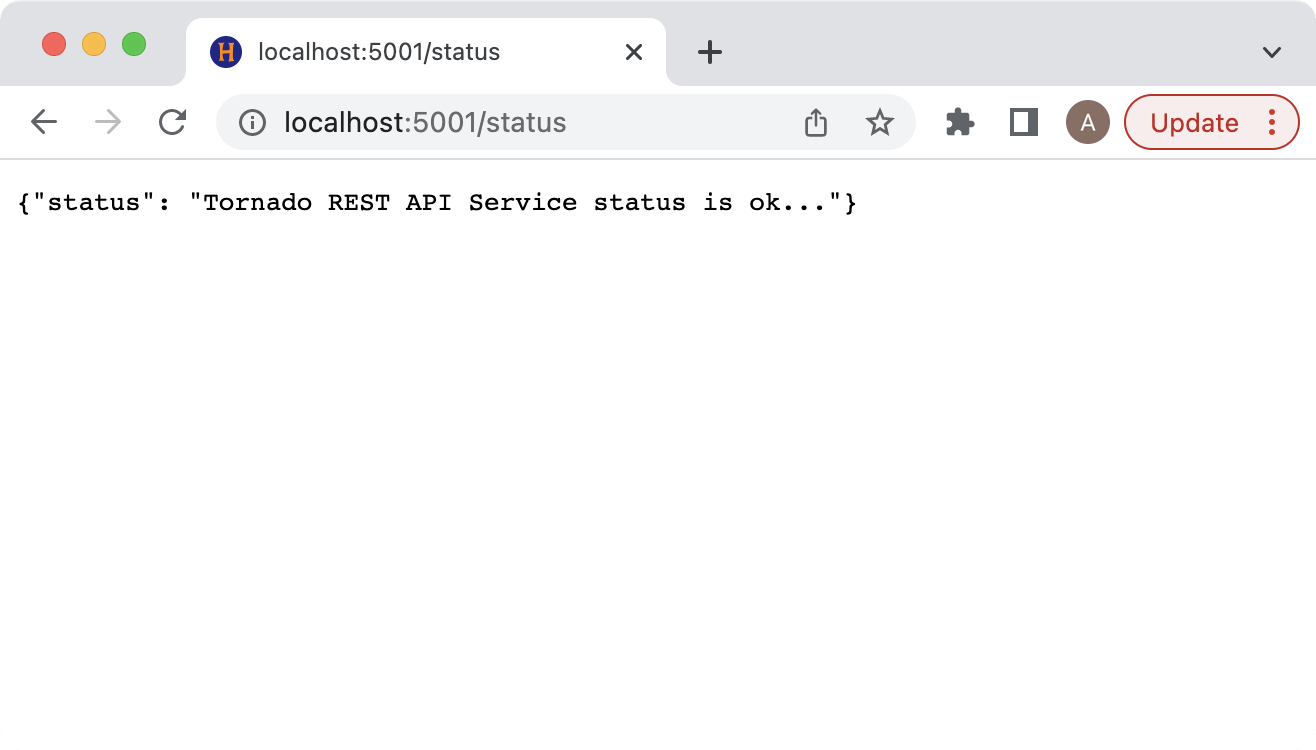
And accessing our localhost on the browser we will see our status message shown below:
Configure For Heroku
Now that we have a working Tornado app locally, we need to add one more thing for this project in order to deploy to Heroku. Create a file named Procfile and add the following code to the file:
Your file structure for the project should look as follows:
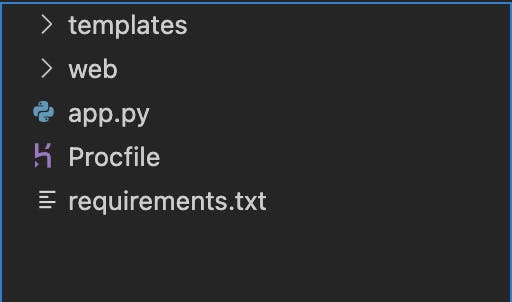 This file will enable Heroku to identify the type of server it will run, and with this we can move on to deploying our code.
Deployment
Once your project has been configured properly and running, we are ready to deploy the project. The easiest way will be to link it to your github account and have Heroku pull the repo and spin the server up. We are going to select the Deploy tab, then we are going to select the Github option for thee Deployment method, and we are going to enter name the repo that has been linked to your Github account by typing the name on the search box as shown below:
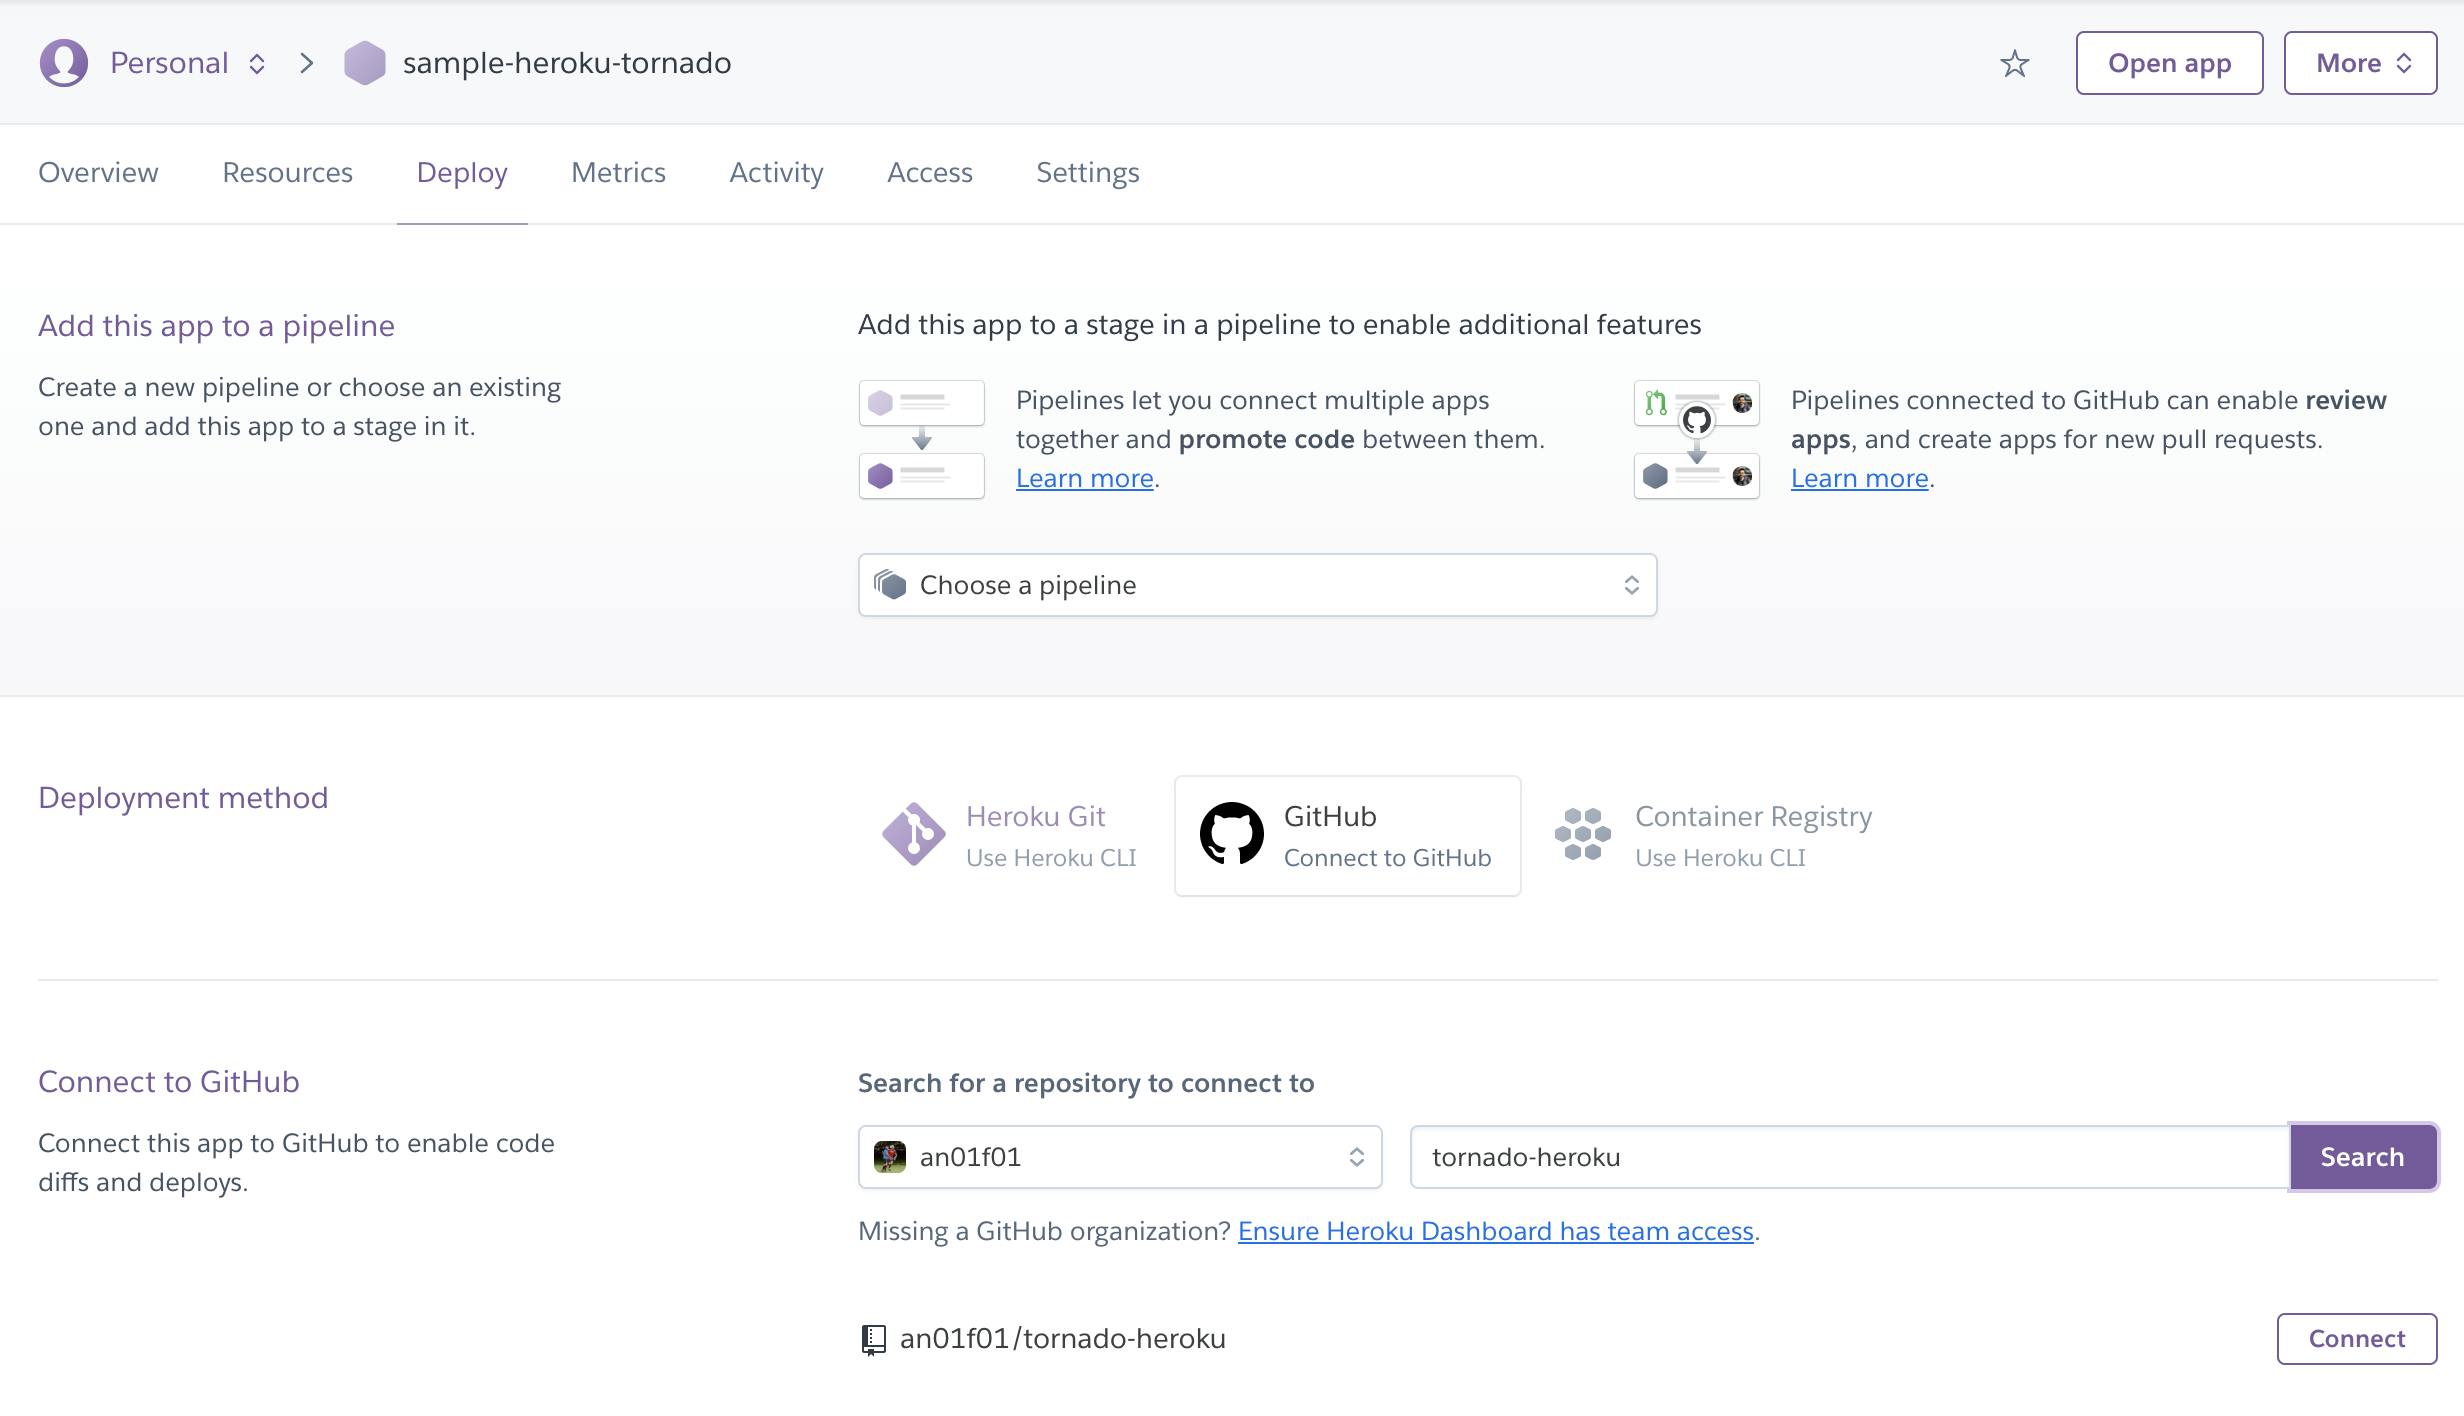
For this to work you need to: (1) be actively logged in the same browser to Github, and (2) allow access to Heroku from you Github account.
Push To Repo
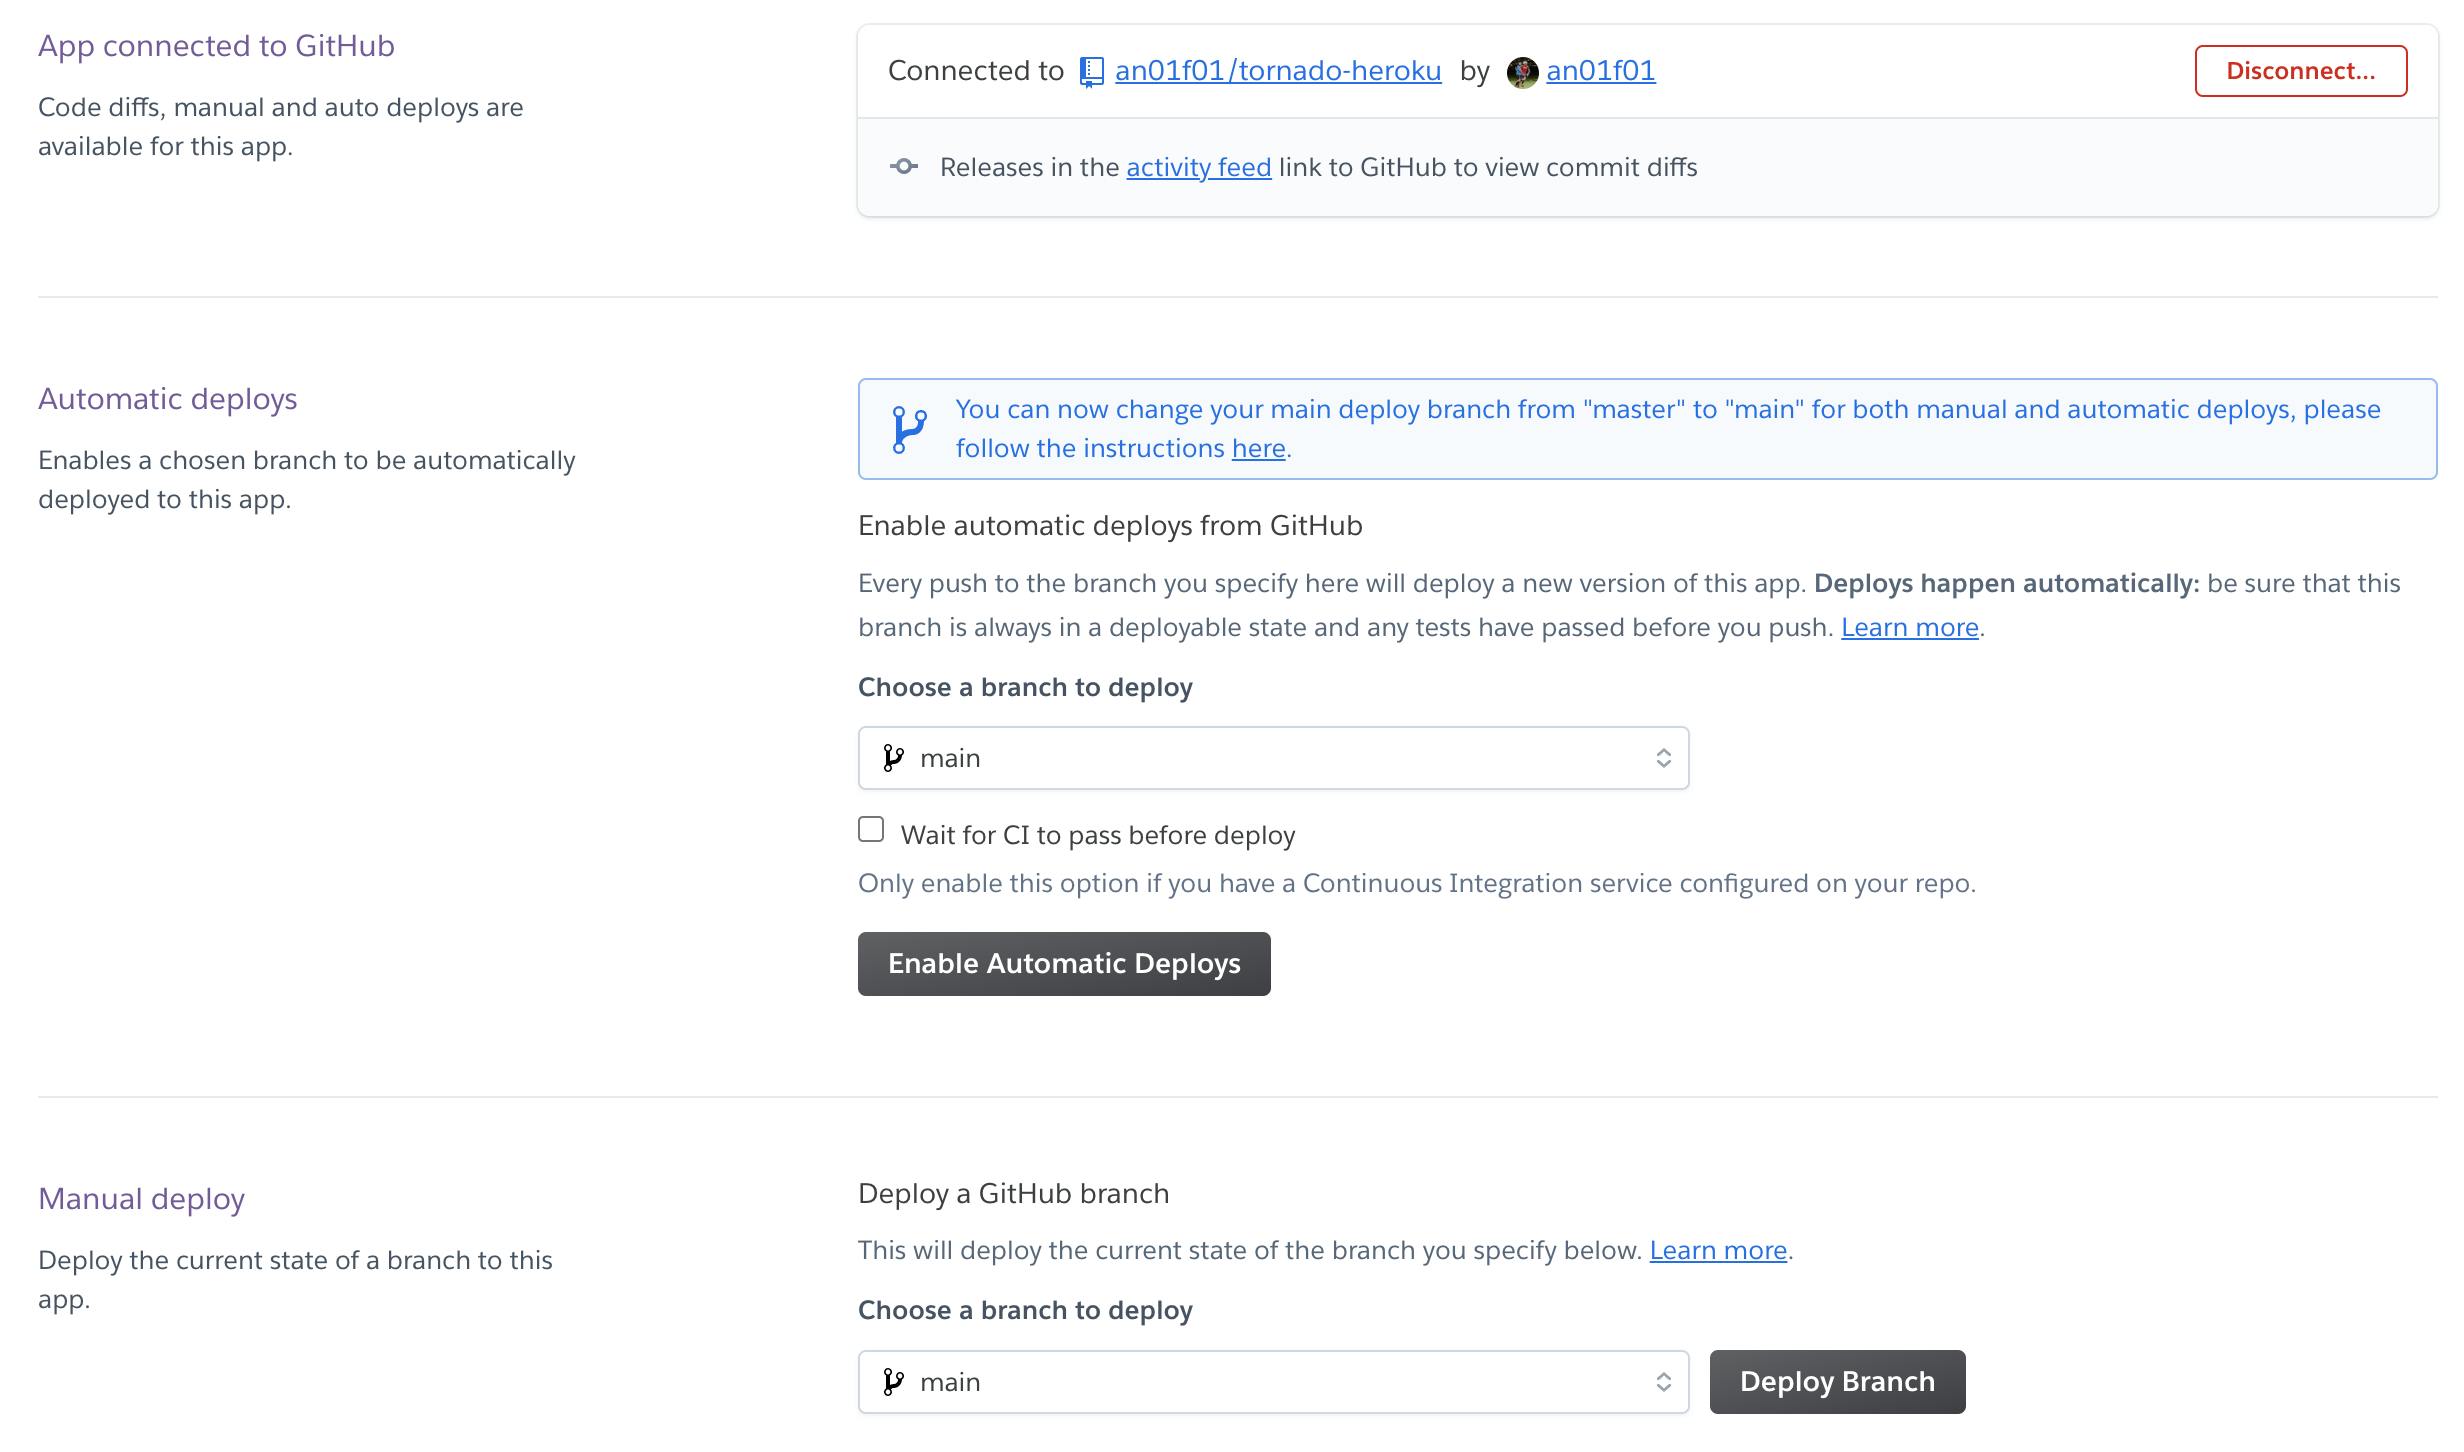
Now with everything setup we can either Enable Automatic Deploys and/or click on the Deploy Branch to manually deploy. For this project I have opted to manually deploy when needed. The screen shot below shows the deployment dashboard section on Heroku.
Configure
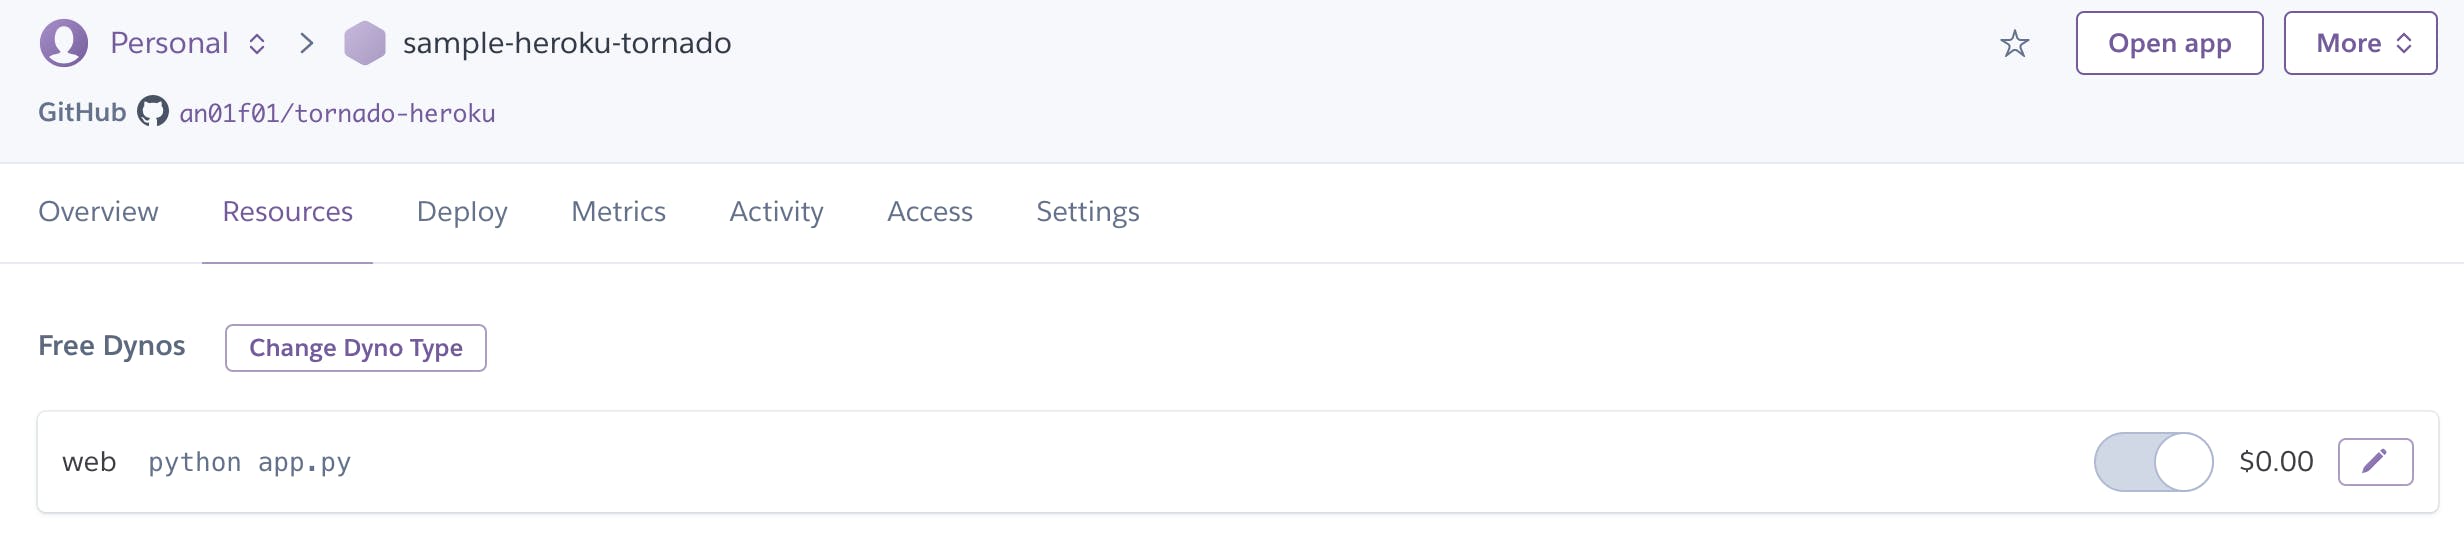
Once the code had been deployed from our repo, we want to make sure that we have enabled our dyno (the process the runs our Tornado application) enabled and should look as the following screenshot:
Test
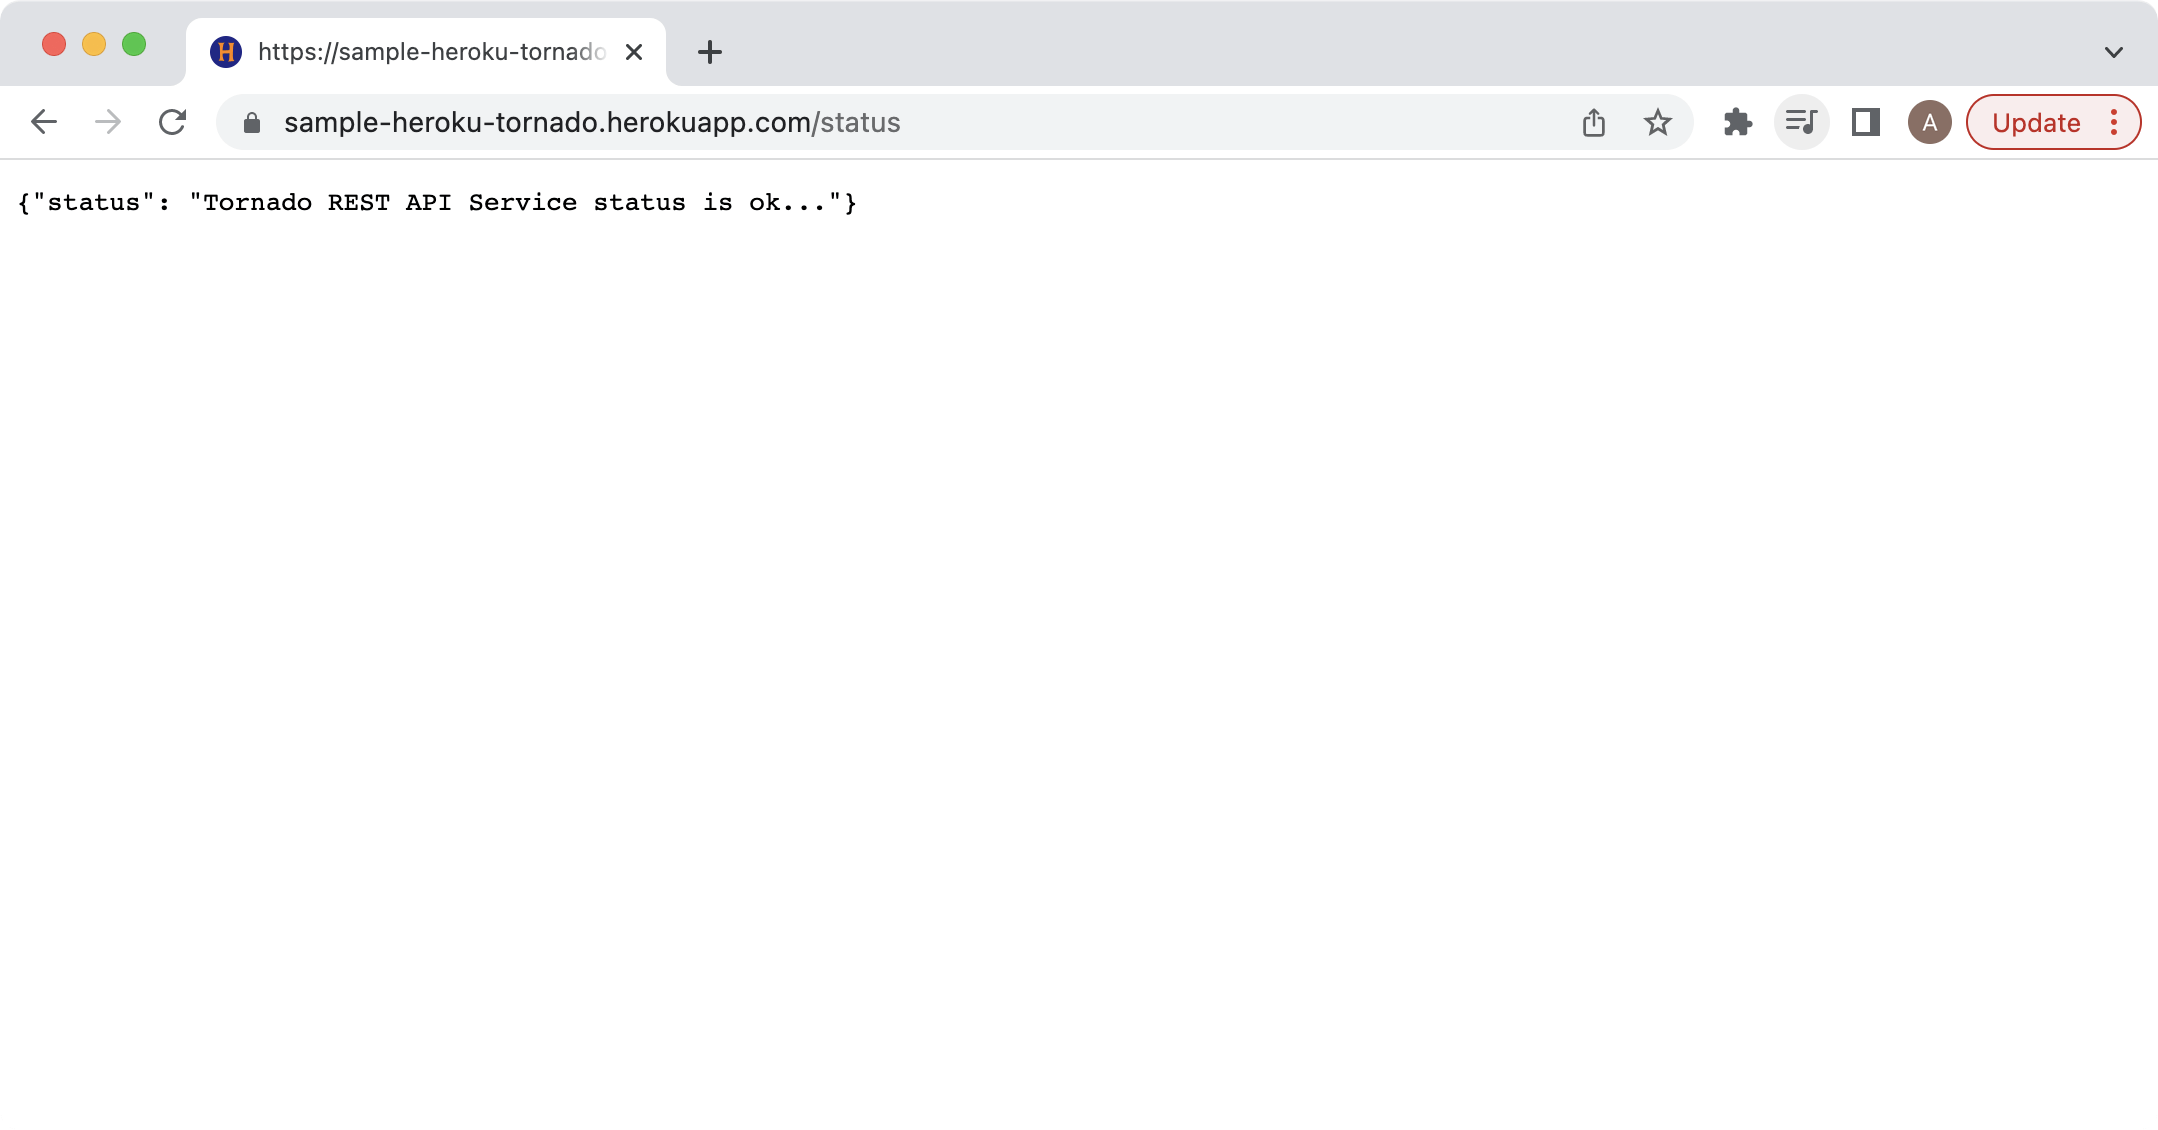
Now that everything is deployed and configured we should be able to navigate to our deployed application on Heroku by accessing the /status route on our deployed app. If you are not sure of the URL for your application you can always click on the Open App button on the top right corner and it will open a new tab on your browser. Append to it the route for status and it should display your json message as shown below:
Conclusion
In this brief tutorial you should have been able to deploy your Tornado app in Heroku with minimal effort. You can get the full source code here.