

How To: Use the Queries Library with Tornado in Python
Create SQL queries in Tornado to access your data


Objective
The goal of this tutorial is to walk the reader through setup of your PostgreSQL database, create a Tornado application with an asynchronous GET and POST API, and access the database to INSERT and SELECT records using the Queries library. For this we will create a books database that we will be able to query all books through the GET interface of our REST API to return a JSON object, and we will be able to create new book records through a POST interface.
Note that this is not a PostgreSQL or database tutorial, so basic knowledge is required. However I will still walk the reader through the creation of the database in pgAdmin and provide a script for it as well.
Setup a Database
We are going to start by installing PostegreSQL with pgAdmin, ideally the latest version, but any version above 9.6 will do as it will contain json support.
Once the installation is completed launch pgAdmin, and then on the tree on the right side of the tool, expand the Servers > PostgreSQL 11 > Databases values. Right click on the Databases value and select Create > Database... for a dialog to pop up. Name the database booksdb. The next step select the booksdb we just created, right click and select from the popup menu the "Query Tool".
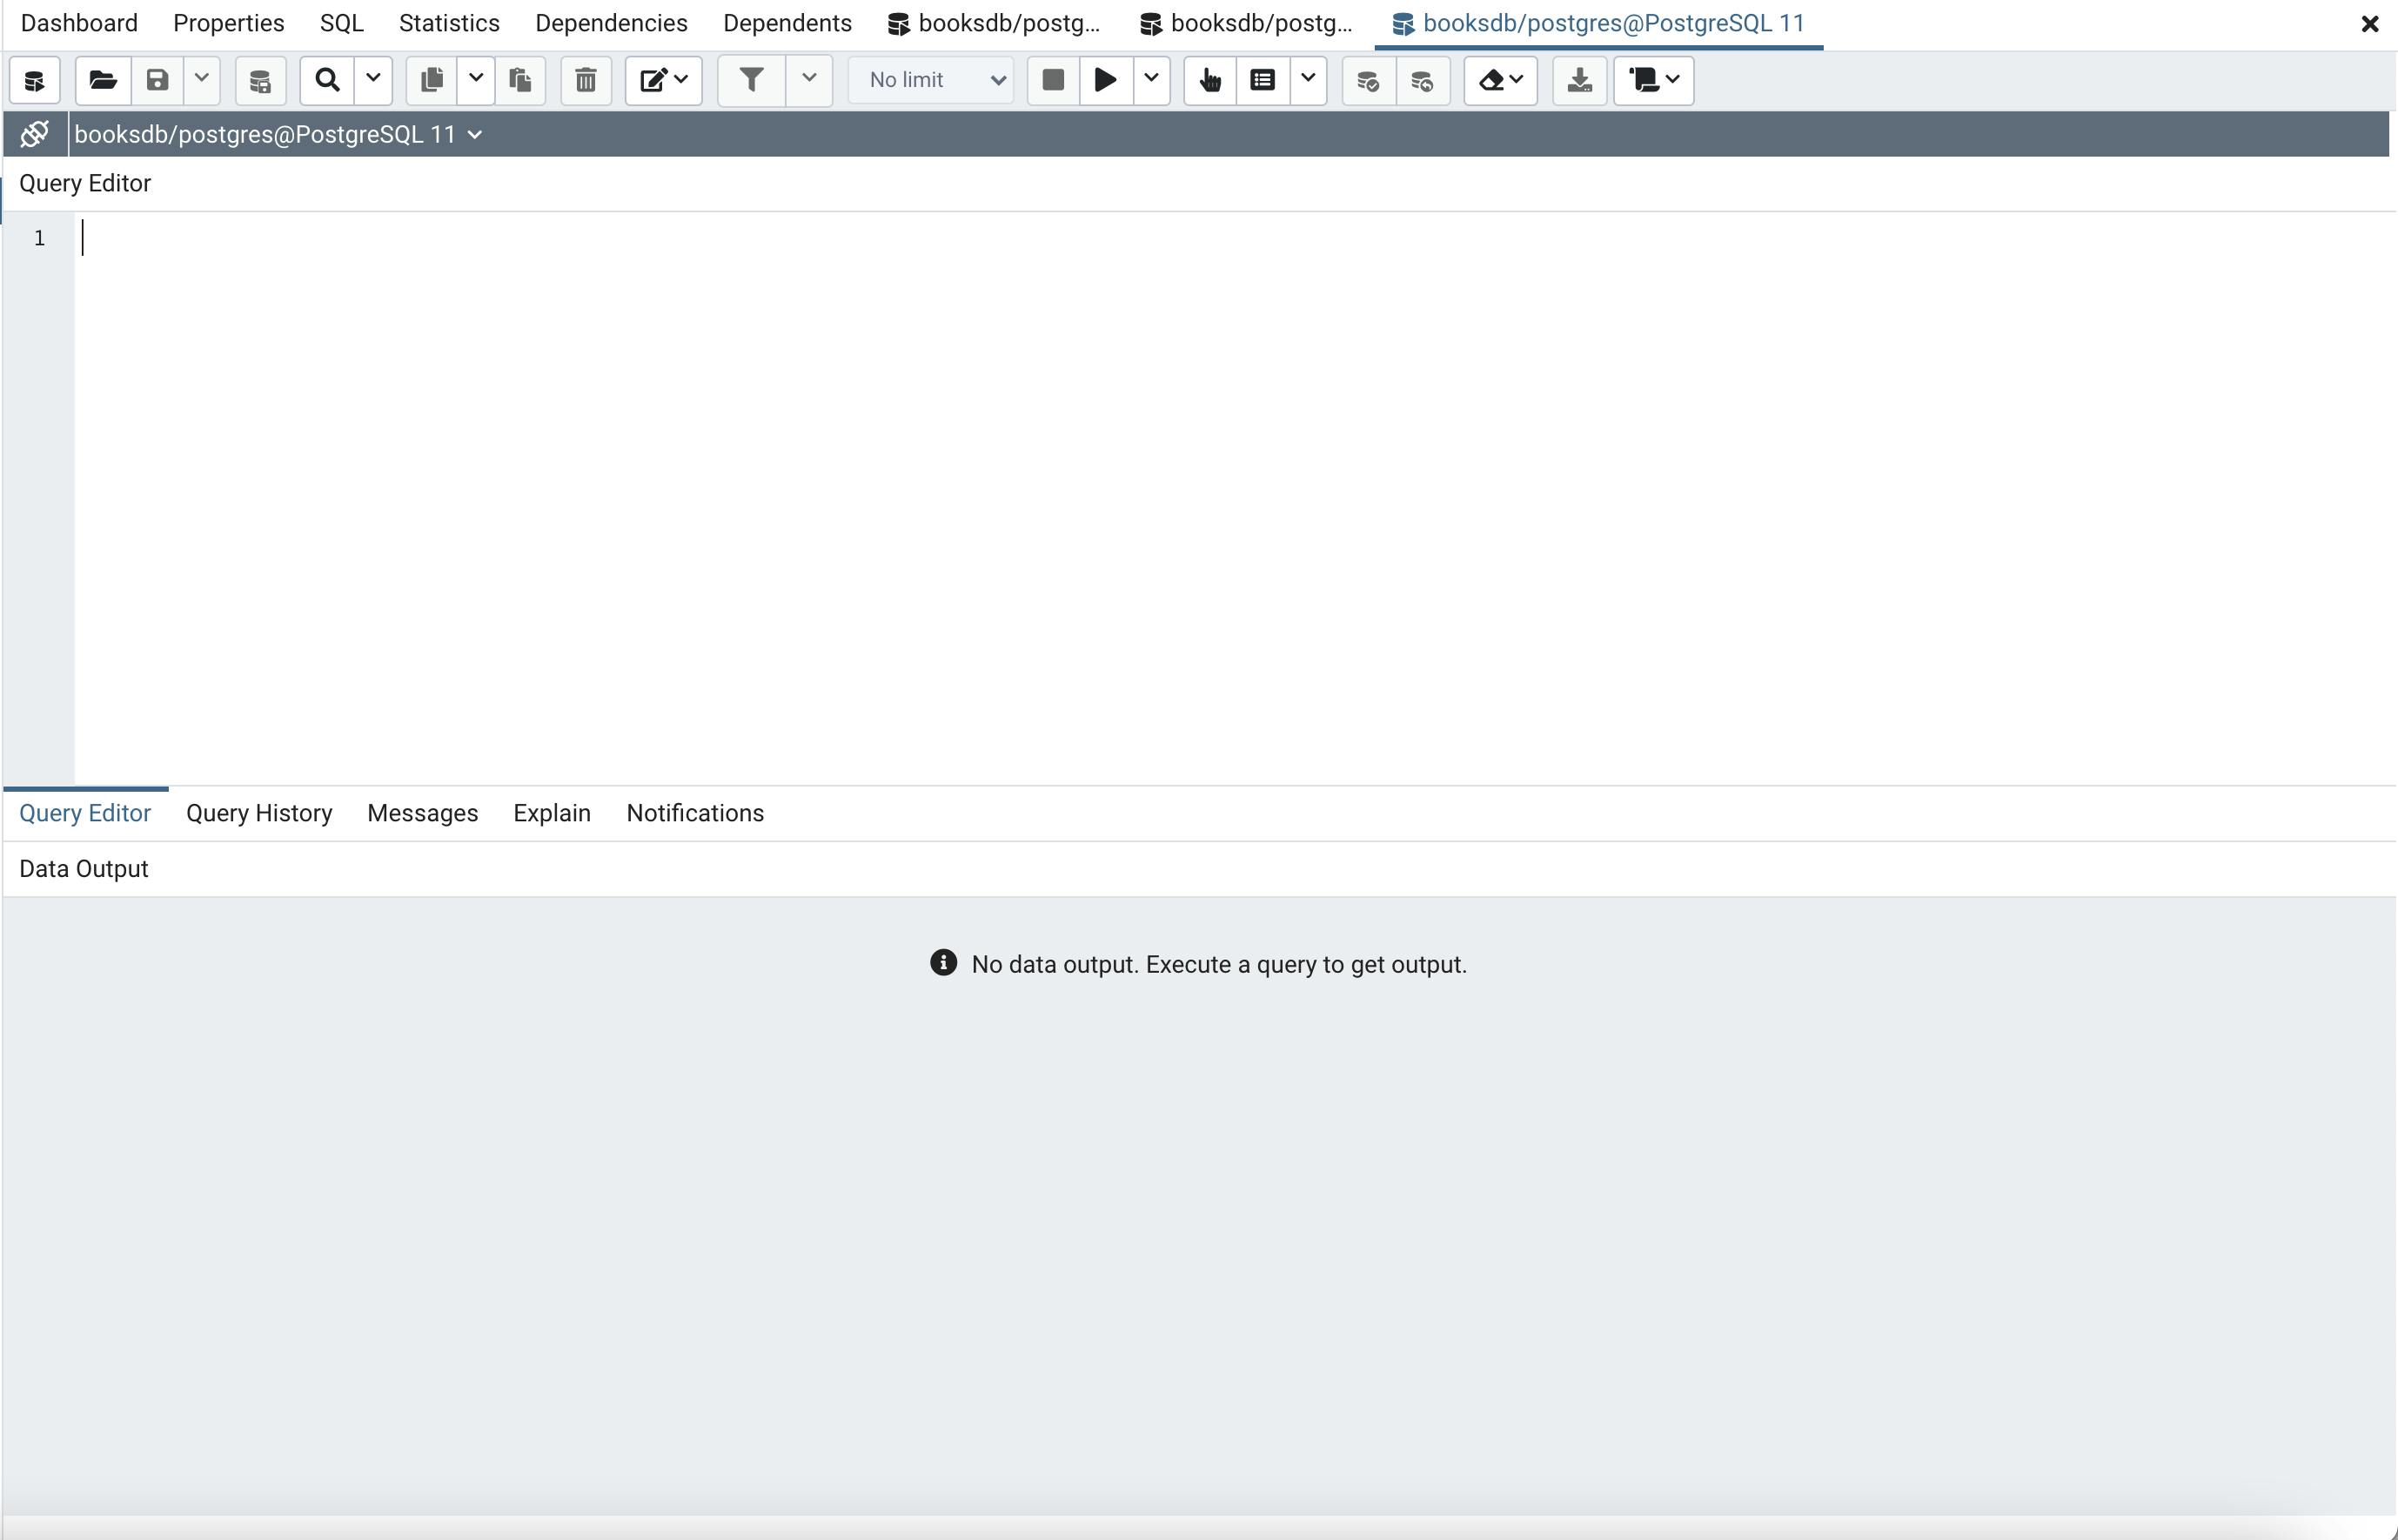
On the Query Editor section on the right panel paste the following SQL:
Click the "Play" button and the database will be created with no records. At this point all is set with the database and you should be able to see the values when running a select Query on the SQL editor.
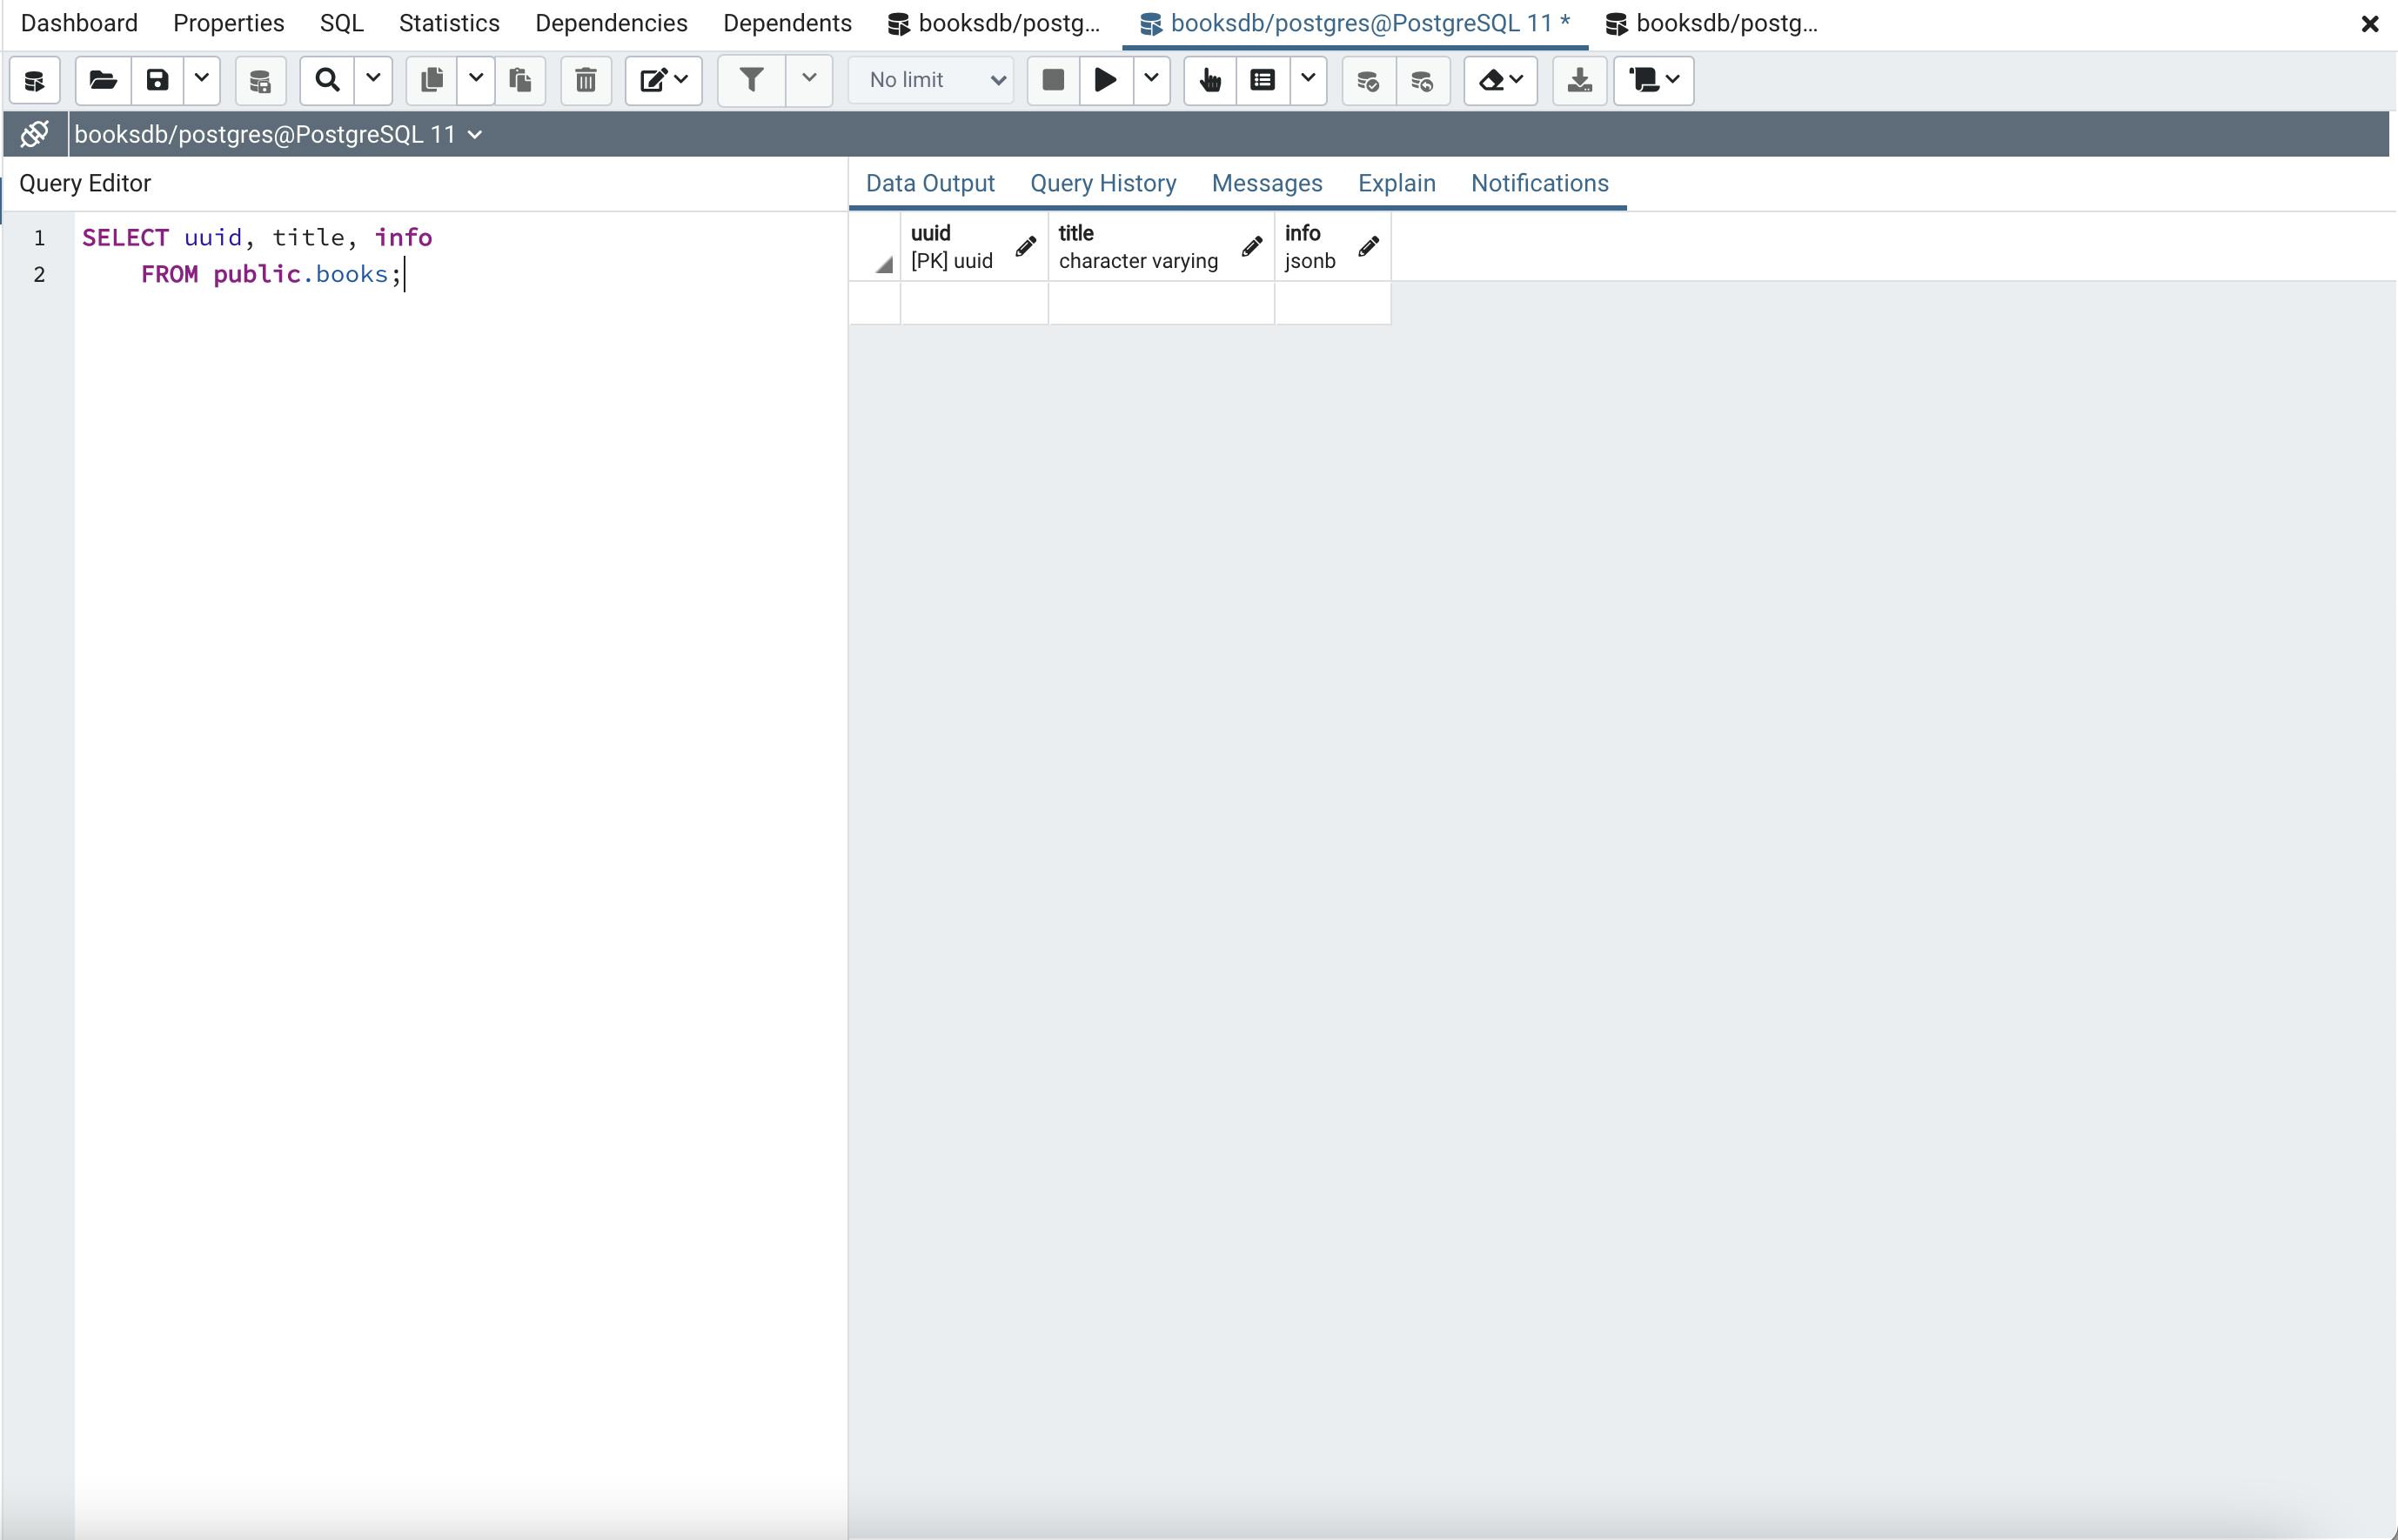
We will add a couple of records through the Query Editor in pgAdmin to have some data in the database by running the following sql statements:
INSERT INTO public.books(
    title, book_info)
    VALUES ('To Kill a Mocking Bird', '{
      "author"  : "Harper Lee",
      "published": "July 11, 1960",
      "publisher": "J. B. Lippincott & Co."
    }');
INSERT INTO public.books(
    title, book_info)
    VALUES ('The Adventures of Tom Sawyer', '{
      "author": "Mark Twain",
      "published": "1876",
      "publisher": "American Publishing Company"
    }');
This is a great article for Top 10 SQL Queries to know
Environment Variables
For security, we need to setup environment variables to store our connection string to the database. This is a critical step as we never want to encode connection strings or passwords to our resources, in this case is our PostgreSQL database. Here we will assume the password to the database is dbpassword, the username is postgres (default when using your local installation of PostgreSQL), and the localhost is the address as shown below:
BOOKS_DB_CONN="posgresql://postgres:dbpassword@localhost:5.."
MacOS
In the mac we will create a file called the .zshrc in your user folder, as an example we will lunch a terminal.
peterpan@peterpan-mpb ~ %
peterpan@peterpan-mpb ~ % nano .zshrc
in the nano editor we will add the following line:
export BOOKS_DB_CONN="posgresql://postgres:dbpassword@localhost:5432/booksdb"
We save the file and we close the terminal.
Windows
In windows you need to click on the windows icon, and type "environ" and a match will come up with the name "Edit environment variables for your account" and you should click on that. Then click on the "New..." button under your User variables for peterpan and use the following:
Variable name:  BOOKS_DB_CONN
Variable value: posgresql://postgres:dbpassword@localhost:5432/booksdb
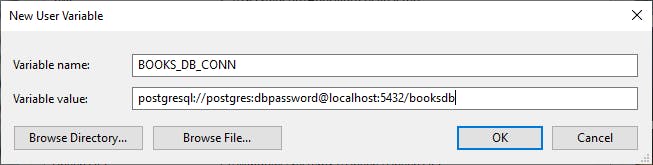
Click OK, then OK again under the Environment Variables window and you should be all set.
Note that for the environment variables to take effect you need a new instance of the terminal / console. Make sure to close those before running your python application.
Create a Tornado Project
This section is divided in four parts, where we will setup our project, create the tornado application, integrate our queries library, and finally testing our new REST API.
Part I: Setup
First we are going to create our requirements.txt file so that it looks as follows:
passlib==1.7.2
tornado==6.1
cryptography
queries
Then we will run the following commands to validate the safety of our packages:
pip install safety
safety check -r requirements.txt
python3 -m pip install -r requirements.txt
This will install all the libraries required to run our Tornado server.
Part II: REST API
The next step is to create a file called app.py where we will develop the Tornado application with a REST API. For this step we will follow similar to what we have done on this tutorial and modify it to meet our needs. We will create two end points that will provide all the functionality needed to achieve the following:
- Retrieve a JSON array containing all the books
- Retrieve a JSON object containing a specified book
- Add a book the database as a JSON object
The end points will look as follow:
GET, POST: localhost:8000/api/books
GET: localhost:8000/api/book/{id}
We will create two Handlers, the first one will be the BooksHandler, and the second will be the BookHandler. The base handlers are shown below:
Finally the basic structure is set for how to interface with the booksdb through the REST API. Now we need to integrate the database connection with the Queries library and use our environment variable as a connection string in the next part.
Part III: Queries
In this part we will integrate the queries library, which will enable us to interact with the database with our asynchronous REST API and manage our connection pooling. First we need to add the required imports as follows on the top off your file:
from queries import pool
import queries
Now we can focus on adding the connections, in your Handler class we need to add the initialization method in order to maintain a reference to our database connection session object as follows:
    def initialize(self):
        database_url = os.environ['BOOKS_DB_CONN']
        self.session = queries.TornadoSession(uri=database_url)
Then we need to interact with the database within our GET, POST, DELETE, or UPDATE method by creating a SQL statement, using the session to query the database, return the result from the database, and finally free the result. We also need to avoid any exceptions we could encounter when working with the database connection. We will use the session object to retrieve all the books from the database sorted by title in the following code sample:
        try:
            sql = "SELECT bookid, title, book_info FROM books ORDER BY title;"
            results = yield self.session.query(sql, {})
            data_ret = results.as_dict()
            results.free()
            print(data_ret)
        except (queries.DataError, queries.IntegrityError) as error:
            print(error)
Notice we had to free the results after we use them, it is good practice to always clean up after yourself!
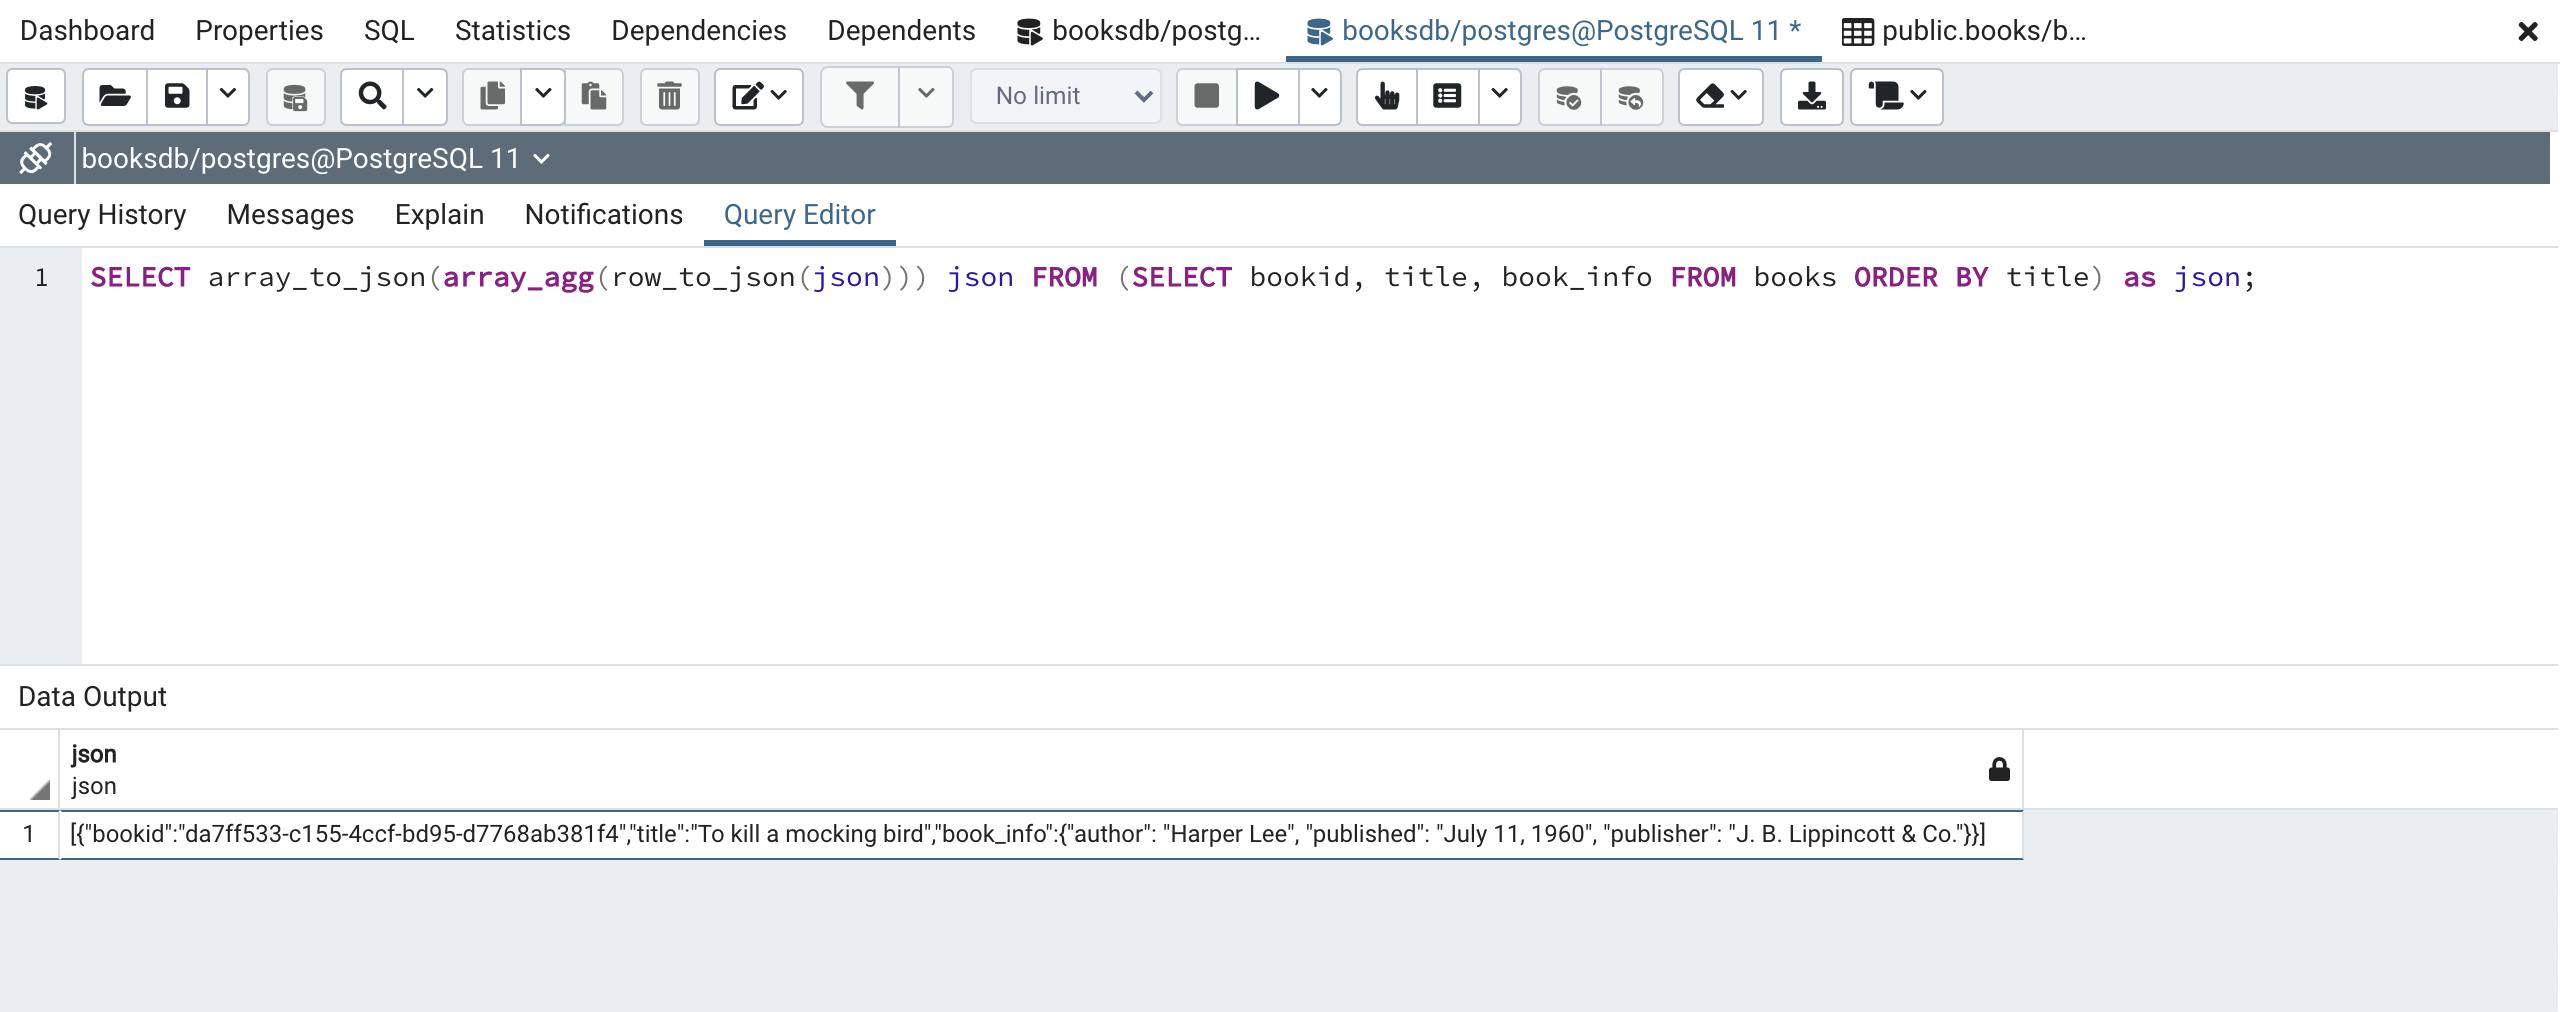
We are going to modify the above query and use the JSON utilities in PostgreSQL to turn those query results straight into a JSON object... why you say? well the database is optimized for doing it so, and will help you skip the step in your python code to convert those results into a JSON object. We will modify the query to look as follows:
SELECT array_to_json(array_agg(row_to_json(json))) json FROM (SELECT bookid, title, book_info FROM books ORDER BY title) as json;
Running the code above will result on a json column with an array of JSON objects from the all the books already into JSON objects shown below!
Finally we are going to integrate our database session object into our Handlers and connect our endpoints with our database through the connection session. First we will complete the BookHandler by adding the queries session reference in the initialization, and applying the with the GET to look as follows:
Then we are going to finish the BooksHandler with the GET and the POST, the GET is fairly straight forward, and the POST will need a bit of thought as it will require a specific format on the JSON object provided in the body of the request and it will also need to have the INSERT query return the JSON object all in one go.
The GET will look as follows:
SELECT array_to_json(array_agg(row_to_json(json))) json FROM (SELECT bookid, title, book_info FROM books ORDER BY title) as json;
On the POST query we will expect the following JSON object:
{
  "title": "the title of the book goes here",
  "book_info": {
    "author": "The author of the book",
    "publisher": "The publisher of the book",
    "published": "The month and year, or at least the year that was published"
  }
}
The book_info can be any json object, for our application we want consistency. But this is a sample project to show the possibilities on what we can do. The SQL for INSERT will be the following:
INSERT INTO public.books(title, book_info) VALUES (<book_title>, <book_info>) RETURNING json_build_object('title', title, 'book_info', book_info);
Here we have the full BooksHandler to show how we implement the GET and POST methods. On the POST we are extracting the JSON from the body request, validating the data, and using it in the INSERT query. Below is the full implementation:
Part IV: Testing
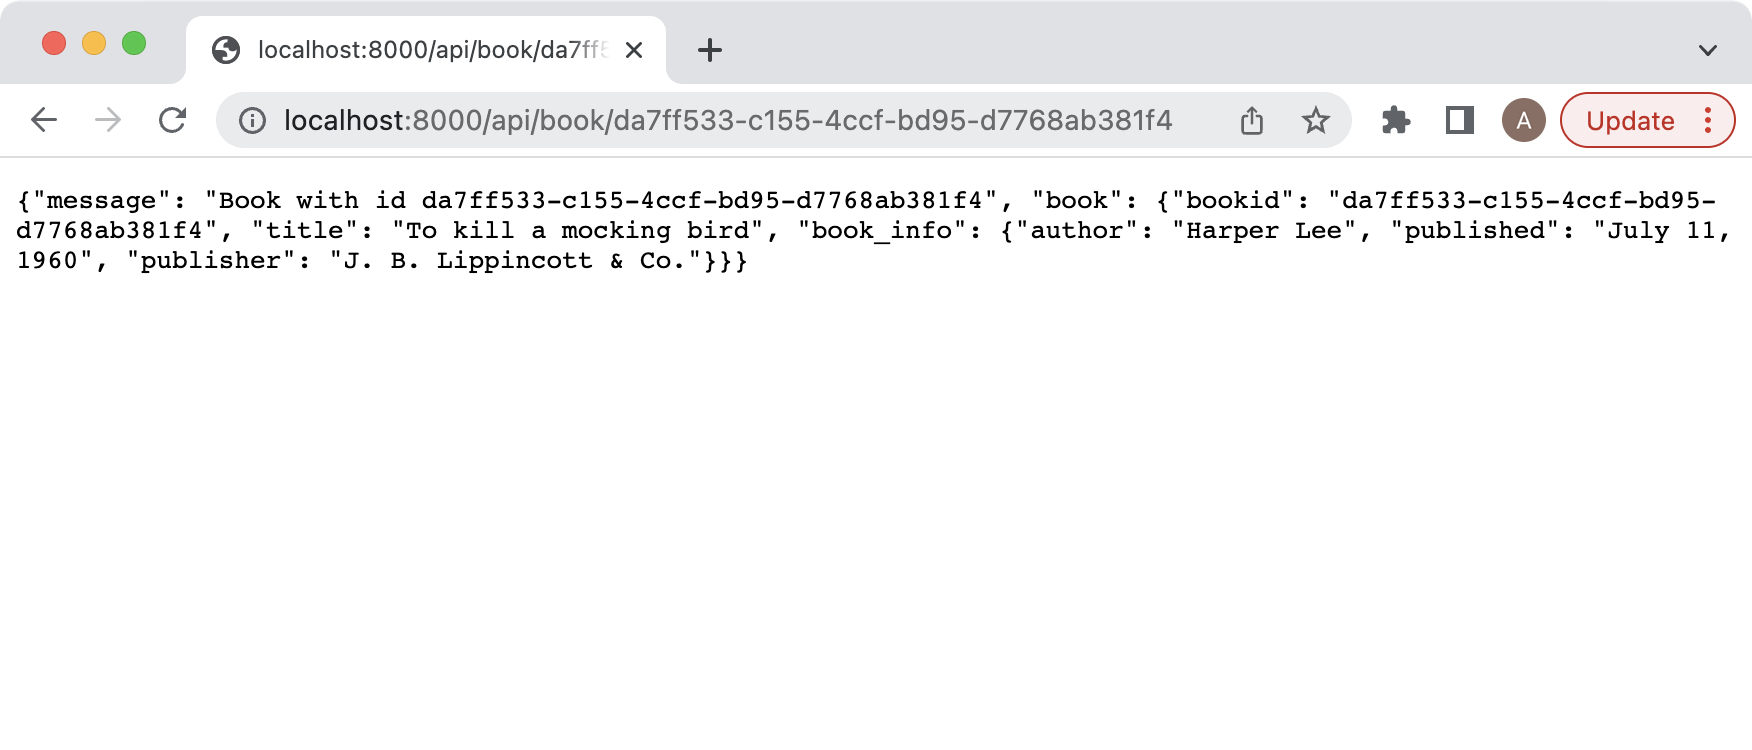
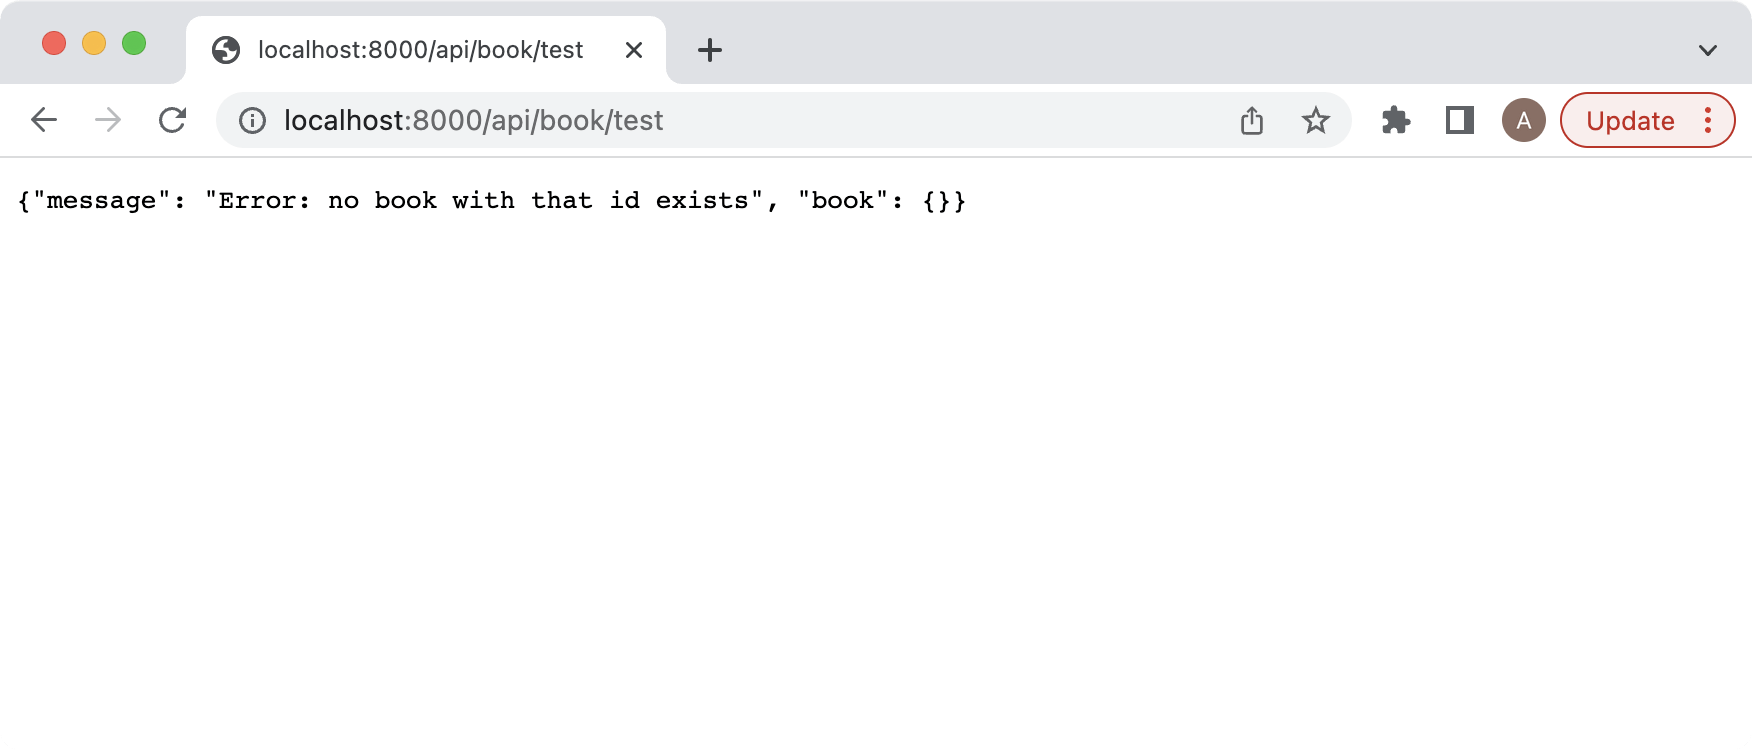
We will test first the GET from the BookHandler by passing a valid book id, and then a non-valid book id for both cases. Your results should look as the following images, make sure to use your own generated bookid and not mine as they will differ.
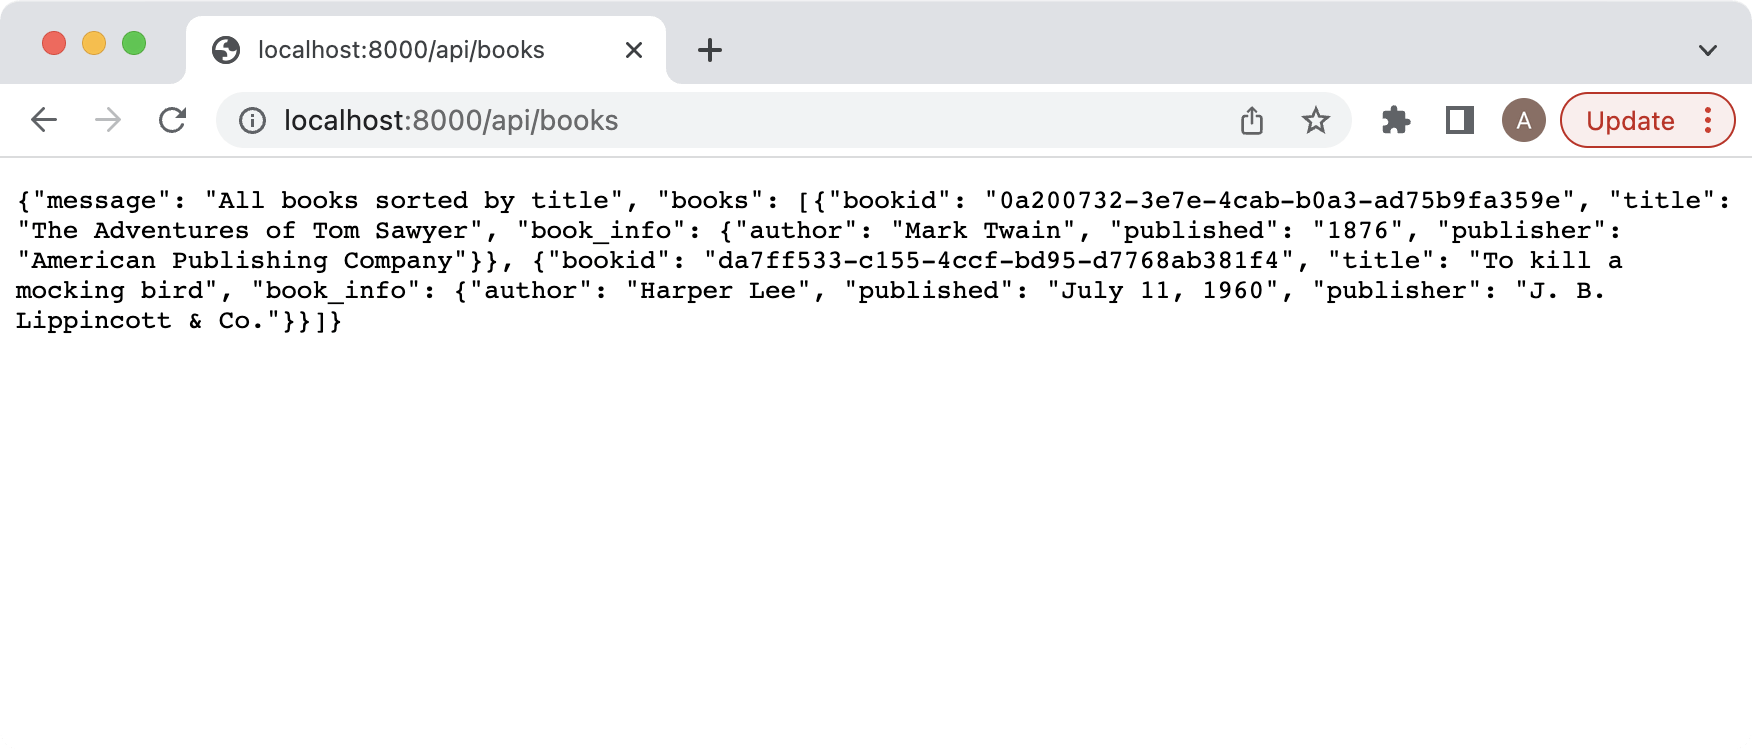
Now we will test the GET of the books api and should return a similar result:
Last we will test the POST, either using POSTMAN or using your own tool (in my case I am using a Lazarus Rest Client I created for this tutorial, but you can create your own if you follow these steps). The result will be a JSON object similar to the one returned by the BookHandler shown below in the my tool:

Conclusion
At this point you should be comfortable creating a Tornado Python REST service for your own project that interacts with a database. You can look at the full source code of the application here. Let me know how it works out!