Deploy a Tornado App to Azure, Part 1: Tornado Setup
Installing Python 3 dependencies and setting up Tornado
In this article, I will show you how to create and deploy your first Tornado application in Azure. If you are using Flask, I recommend you follow this tutorial instead. First, lets address why Tornado? Well it is a Python web framework and asynchronous network library, and can scale up to tens of thousand open connections! Tornado works really well for web sockets applications, but also REST APIs. We will use an Azure App Service, that will provide a scalable solutions to any small to medium size project.
Step 1: setup your Tornado app
We will create a minimal Tornado app, with routes, that will easily deployed to Azure. First we will create a file and name it app.py, this is our application entry point:
We then create our requirements.txt file containing the following:
passlib==1.7.2
tornado==6.0.4
cryptography
Then we will call the following commands to have pip safety check and then install the libraries:
First we install the safety library with the following command:
pip install safety
Then we check our required libraries to make sure they are safe:
safety check -r requirements.txt
We should receive the following output on the command line:
REPORT
checked 12 packages, using free DB (updated once a month)
No known security vulnerabilities found.
Finally we install the required libraries:
pip install -r requirements.txt
You can find more details on how to keep your python libraries safe from here
At this point you should have everything you need to run your Tornado REST server.
Run the following command: python3 app.py
The output on your command line should be as follows:
starting tornado server..........
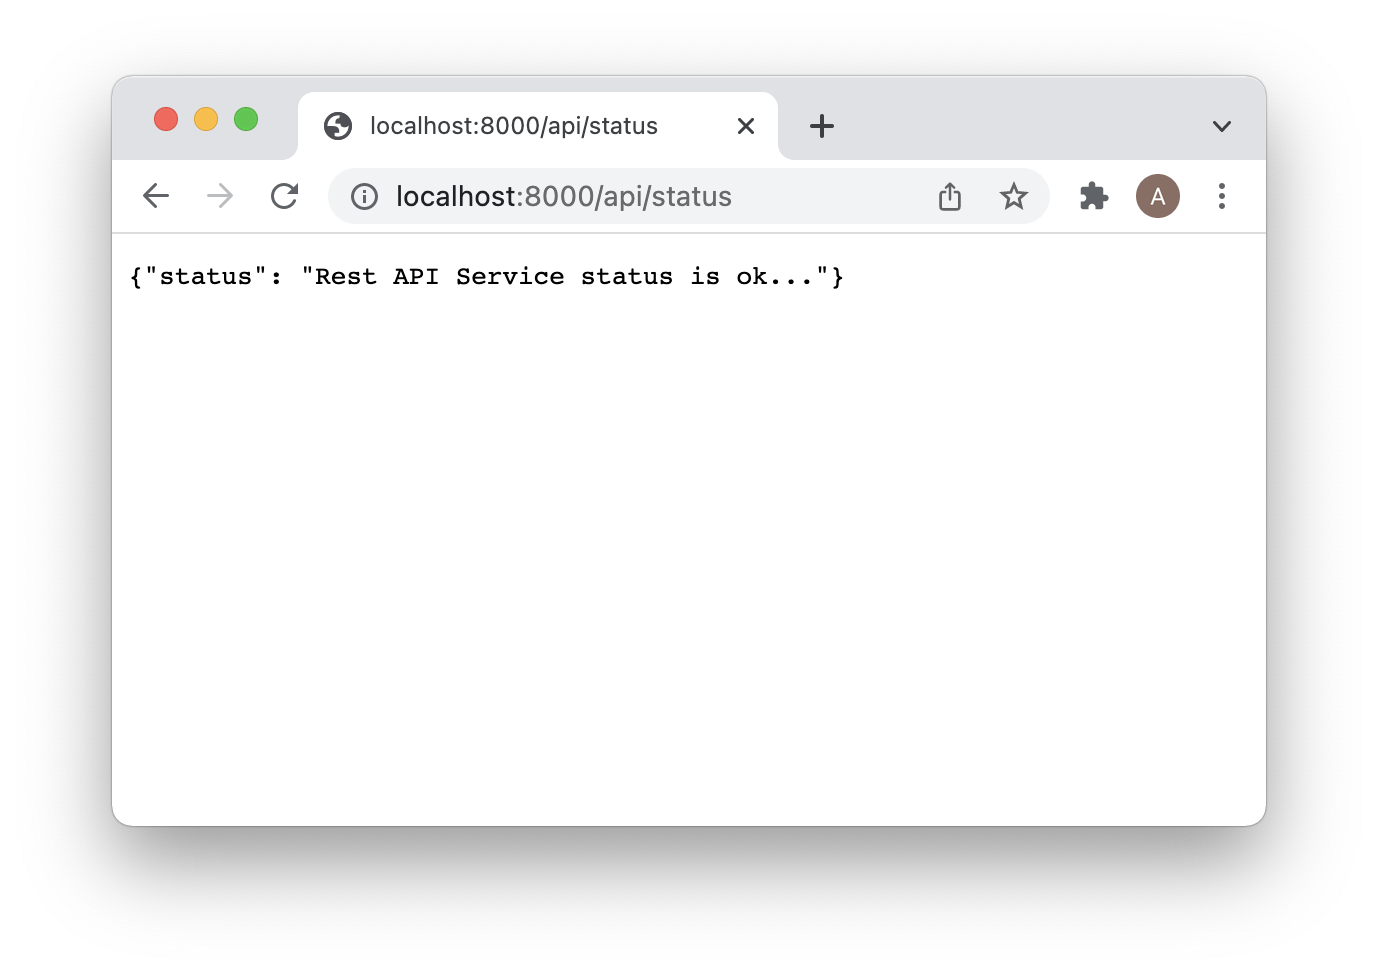
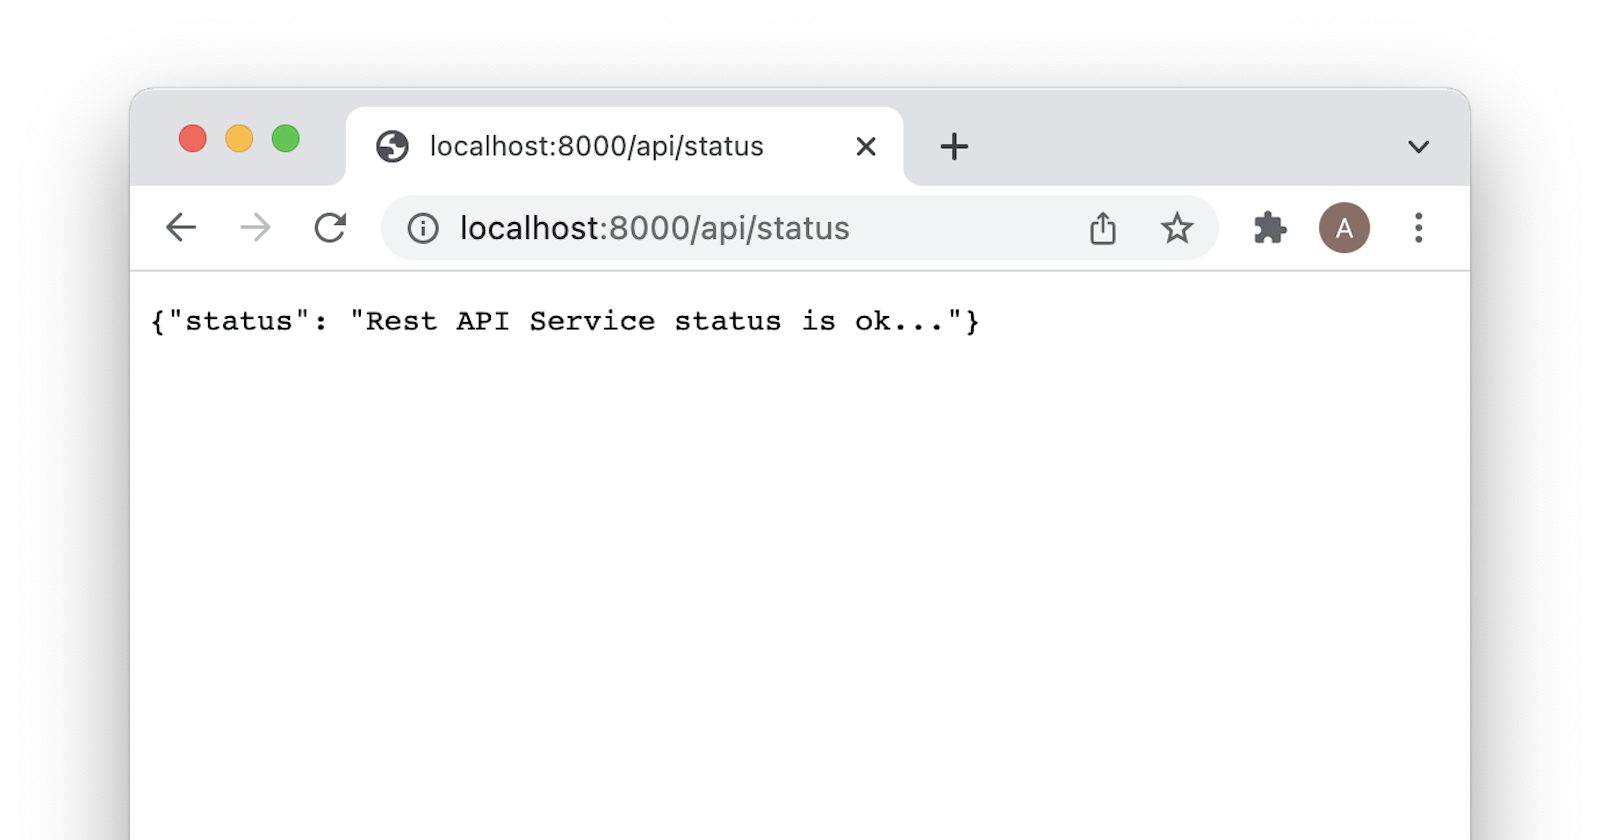
Navigating to the following url (localhost:8000/api/status) on your browser will display the follow:

In Part 2 of the series we will setup the Azure App Service.
