Heroku Removed Their Free Tier: Render Rises
Moving your Tornado Python project to Render


You might have read online, from sources such as Qovery, Heroku will move away from offering a free tier for all new and existing projects. Migrating your Heroku project to Render.
Setup
Here we will walk through creating a web application with a database on Render, we will base this project off the Queries Library Tutorial and in the process update to Tornado 6.2.
Create Render Account
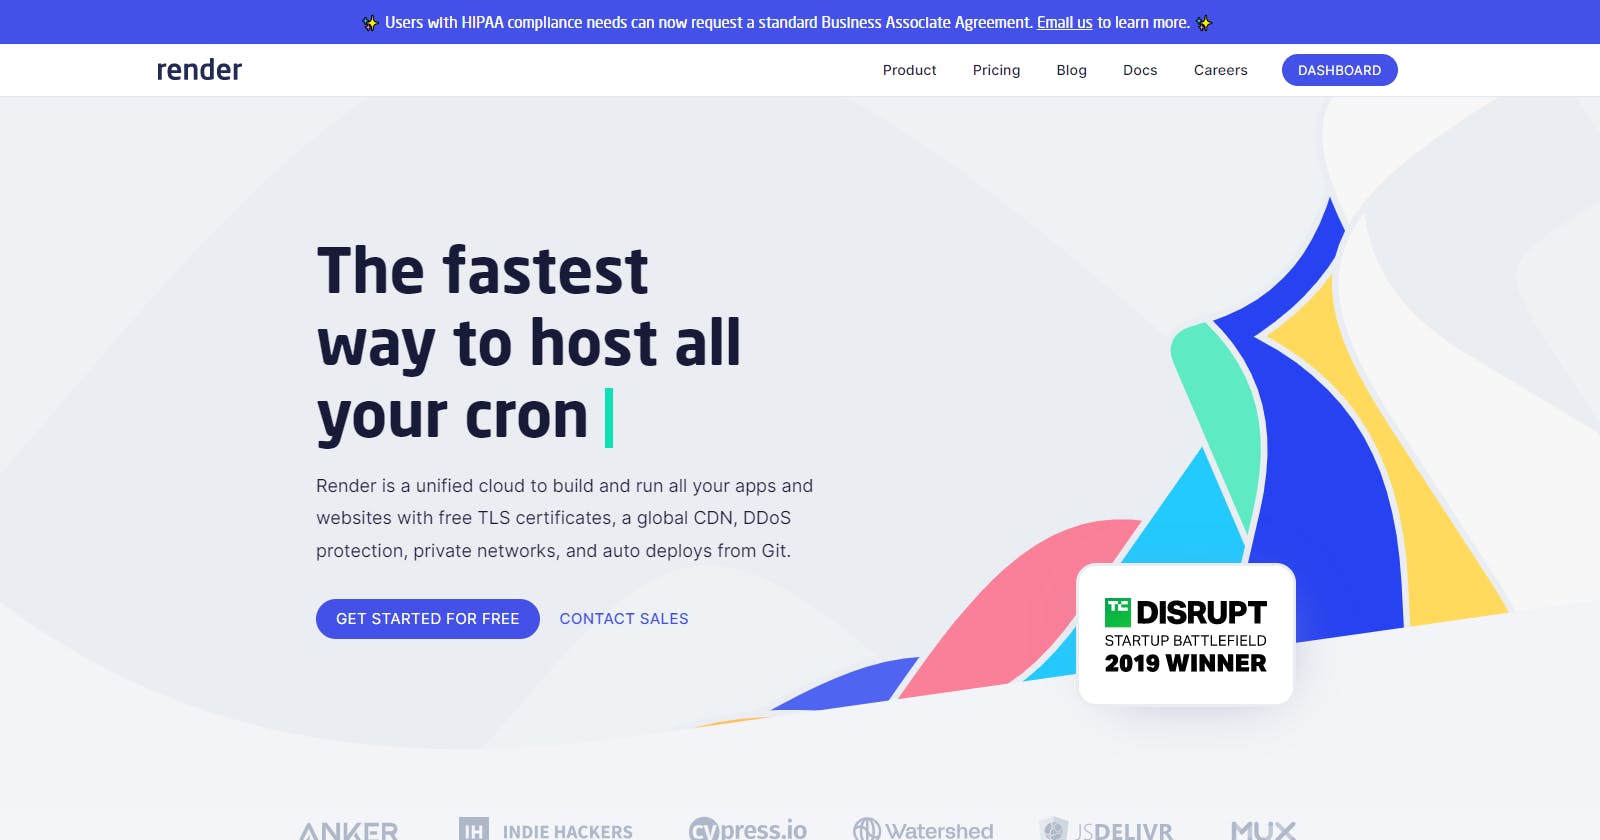
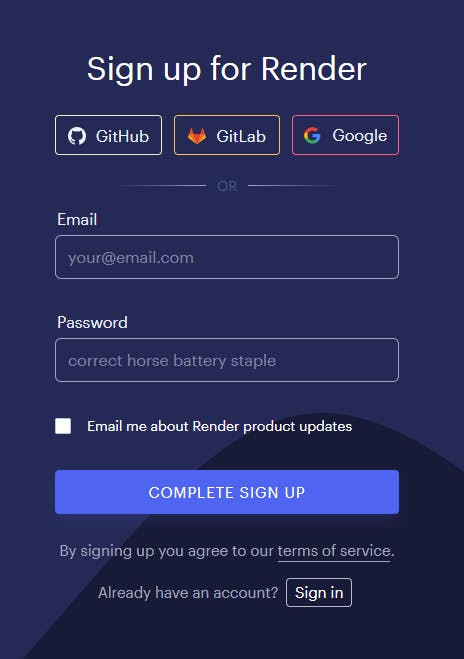
First we need to create an account at https://render.com/ by clicking at the "GET STARTED FOR FREE" purple button on their interface. Use one of your accounts, fairly standard as shown in the image below:
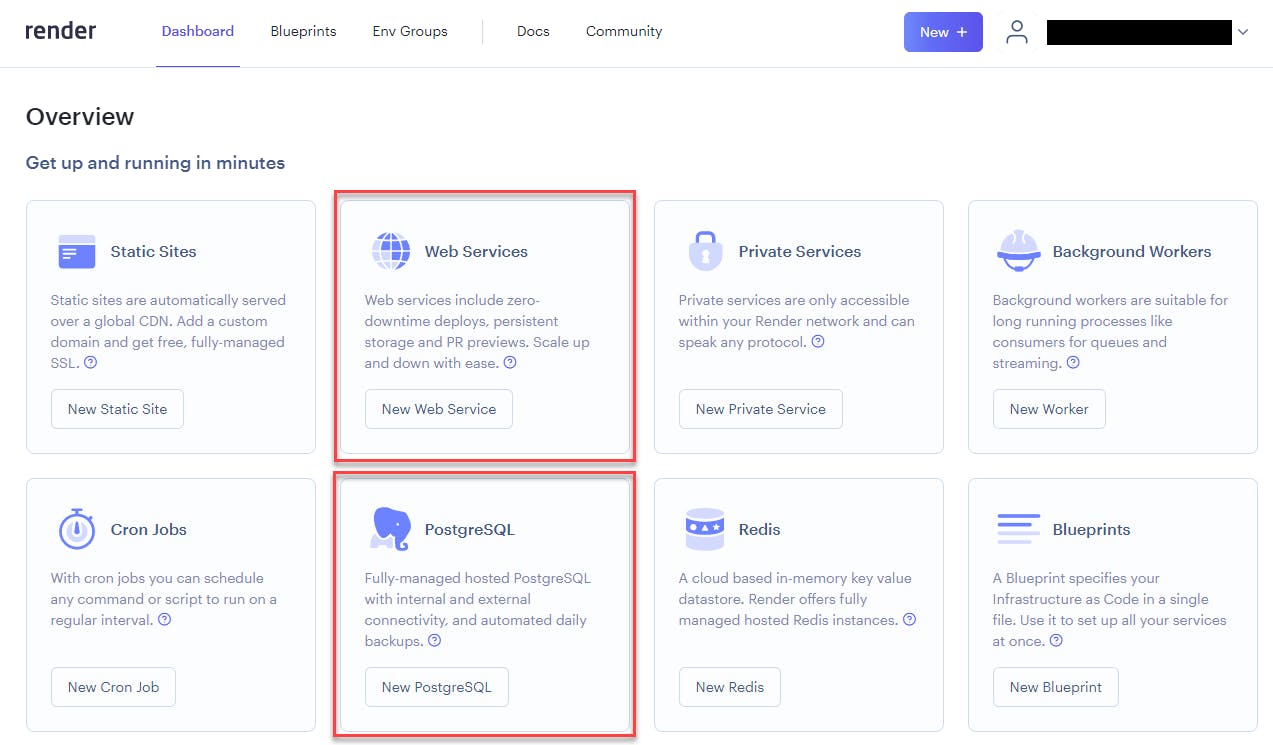
After confirming your email/account you should have a dashboard as shown below, which you can use to create you web application and database.
Create Database
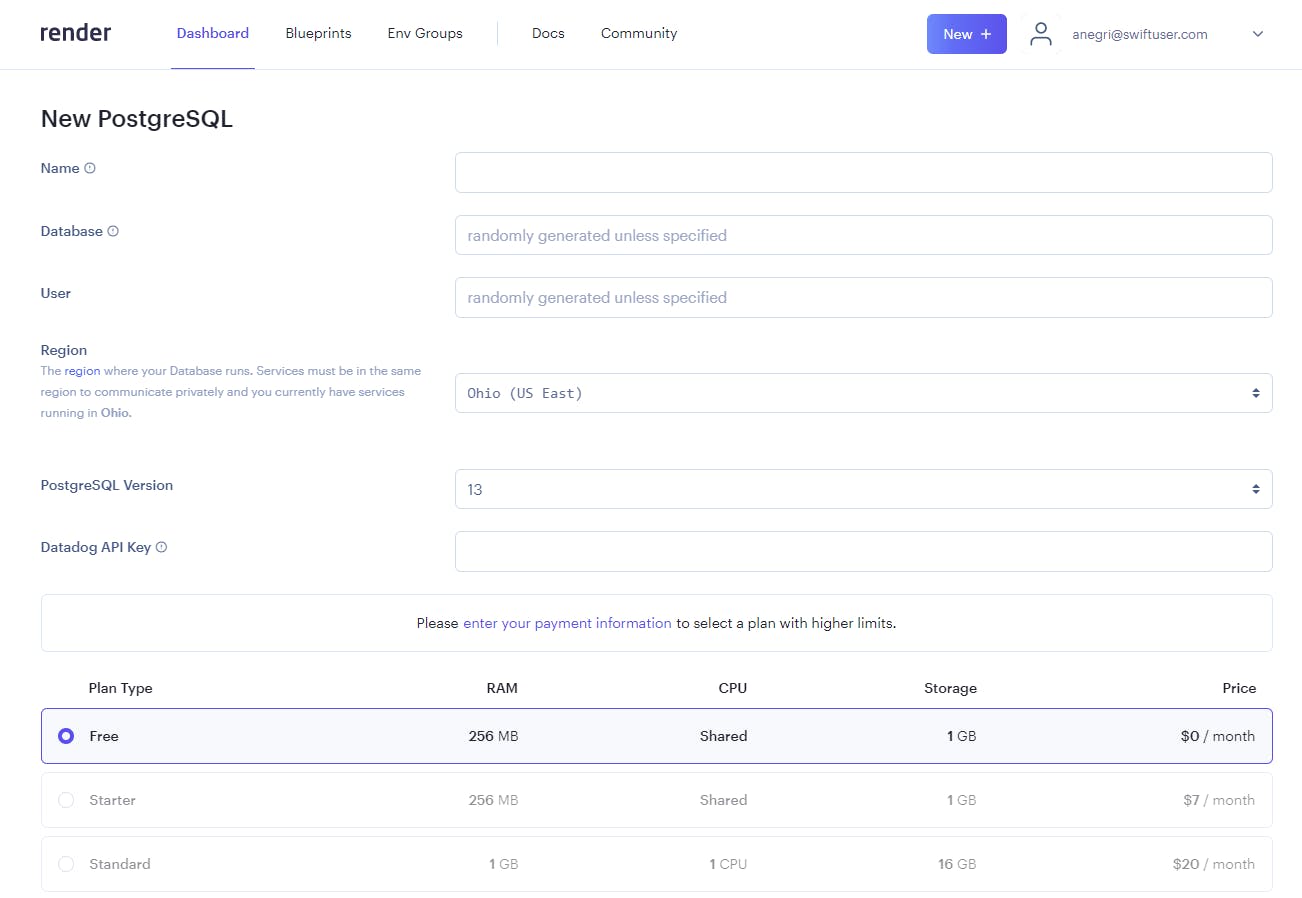
Once we have click on the PostgreSQL link, we can fill in the following form to create the database. In my case I named the database booksdb as we did on the Queries tutorial.
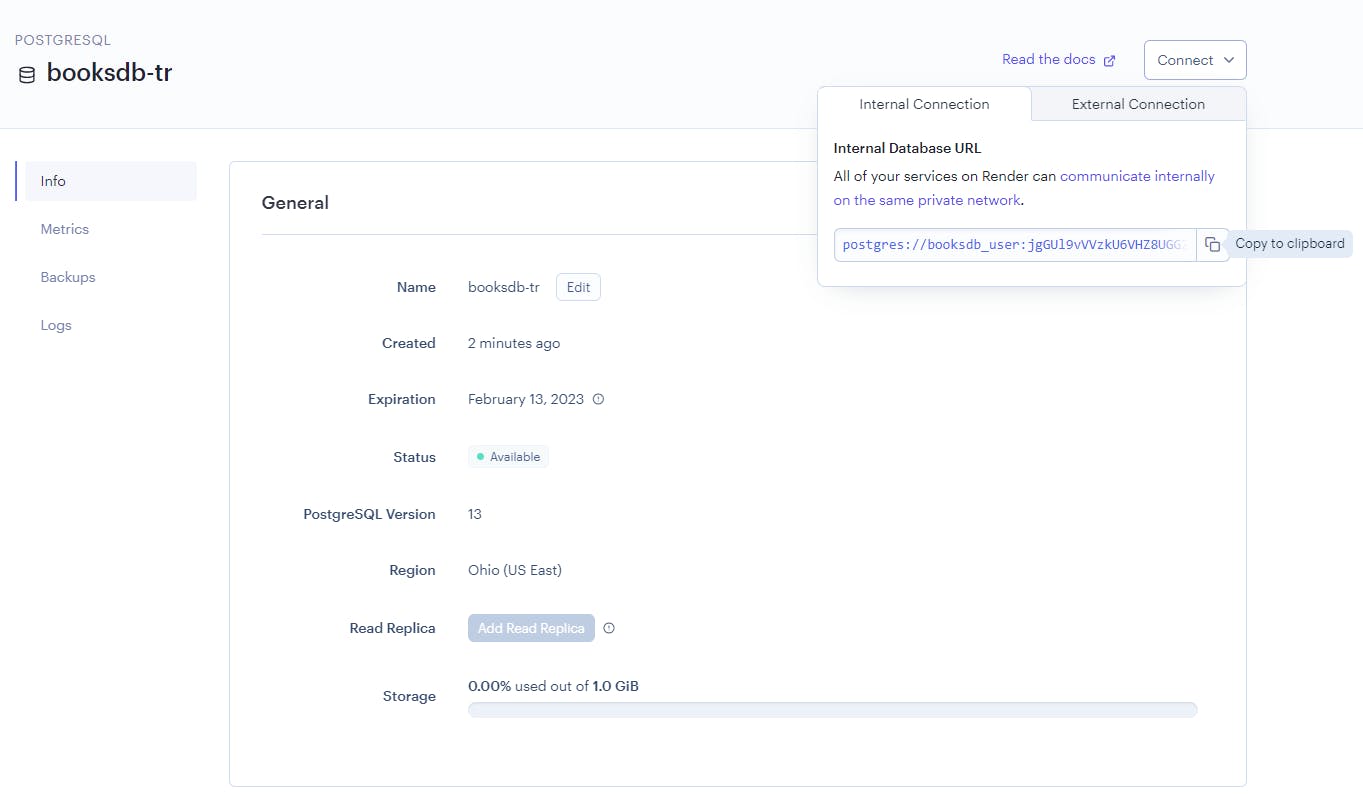
You need to use the following database information to connect to the database through pgAdmin, like we did on the Queries library tutorial in order to create the tables for this project, the info can be found in the screen below:
Create the tables in the database connecting to it through pgAdmin and running the following using the following SQL code:
And finally you should see the following after running a SELECT query on your booksdb database:

Create Web Service
We are going to now create our Tornado project, upgrade it, create a webservice, and deploy it.
Setup Tornado
Since we have covered this before, we are going to fork/pull our Queries repo code from here and modify it by updating to the latest version of Tornado.
If you do pull the code, please give it a star! It is barebones to give you a template for your project.
Update Tornado
First we need to change our requirements.txt file to the latest version of Tornado, and change it as follows:
passlib==1.7.2
tornado==6.2
cryptography
queries
Since this is a new project we also want to create a local virtual environment, by executing the following commands and then installing the libraries needed.
For MacOS and Linux we would follow these steps:
> python3 -m venv .venv
> source ./.venv/bin/activate
> pip install --upgrade pip
> pip3 install -r ./requirements.txt
For Windows we need to do the following:
PS C:\dev\medium\tornado-render> python -m venv .venv
PS C:\dev\medium\tornado-render> .\.venv\Scripts\activate
(.venv) PS C:\dev\medium\tornado-render> pip install -r .\requirements.txt
Now we are ready to start upgrading our code!
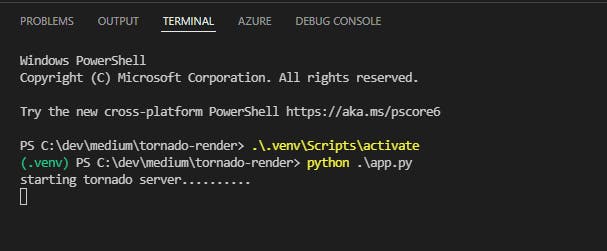
We need to modify how we run our listener by modifying the main function and the how we run our Tornado app.py so that it looks like the following:
Once this changed, we can run our python app.py command and we will see the following in our terminal:
Make sure to have your local environment variable BOOKS_DB_CONN pointing to the external access postgres connection string (you can get it from the PostgreSQL database Info section under Connections.
Create Web Service in Render
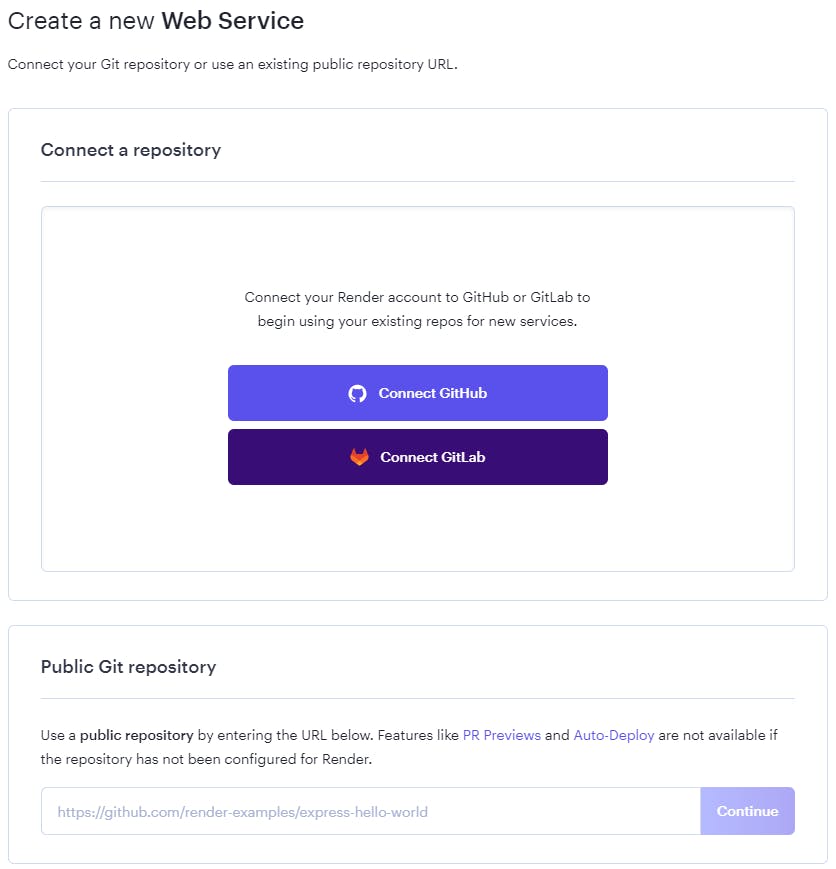
Now we are going to create the webservice from one of our existing repos, in my case I used Github, and this is straight forward process is guided through the following prompts once you have clicked on "Create Web Service" and the standard prompts from connecting to your github account and repo.
Once created the latest repo will be pulled from the specified github/gitlab server.
Environment Variables
Last we need to create an environment variable, in this case is BOOKS_DB_CONN on the dashboard for the web service in order to store the connection string for the database. Copy the internal database connection string from your PostgreSQL project and paste it into a new environment variable as shown below.

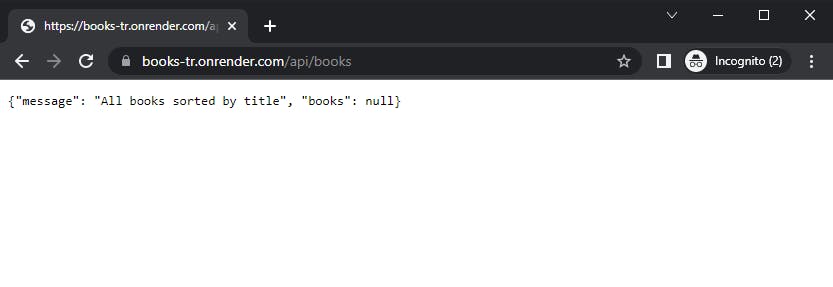
Finally, at this point everything is setup with the Tornado server, saving the changes to the environment variables will trigger a new deploy job, and now you can see your site live. In our case we want to browse to .onrender.com/api/books just make sure to replace with the name of your webservice. You should see the following when querying for books:
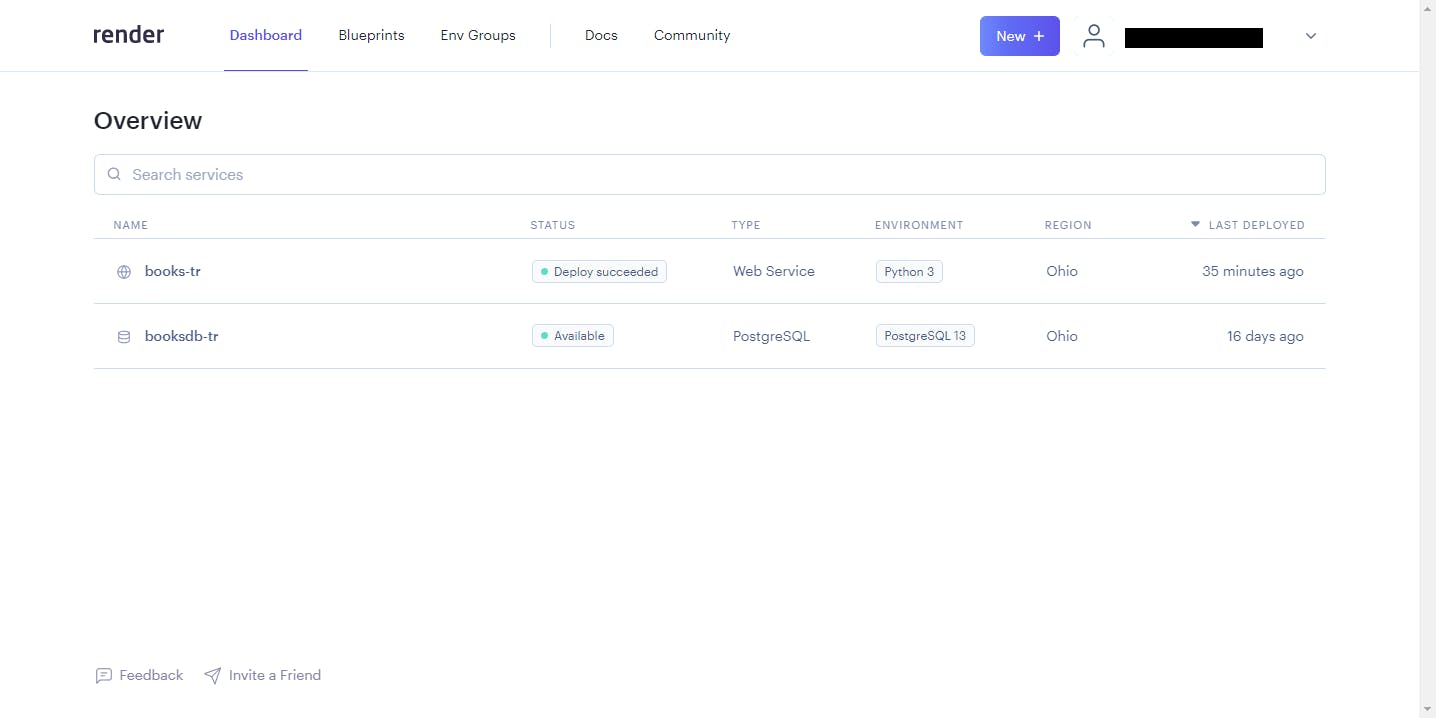
Render Dashboard
Now we should have two projects on your Render dashboard as the following image with all the perfect green status for each of the projects as shown below.
Conclusion
You can review the full source code to the project here, as you can see it is very simple process to get your backend up and running on Render. The database is only free for the first 90 days, but that is usually plenty of time to test a project and afterwards it is only $7.00 USD/month. The web service can be hosted for free, but if you want to upgrade it will cost another $7.00 USD/month for the Starter plan, but you can keep your service in the Free Tier as we were able to in Heroku. The most important thing to keep in mind is that this is an option to leverage, that required no code change on your Tornado app to make it run on a different platform other than some configurations for Environment Variables and how to run your app.py. Hope this helps!!!